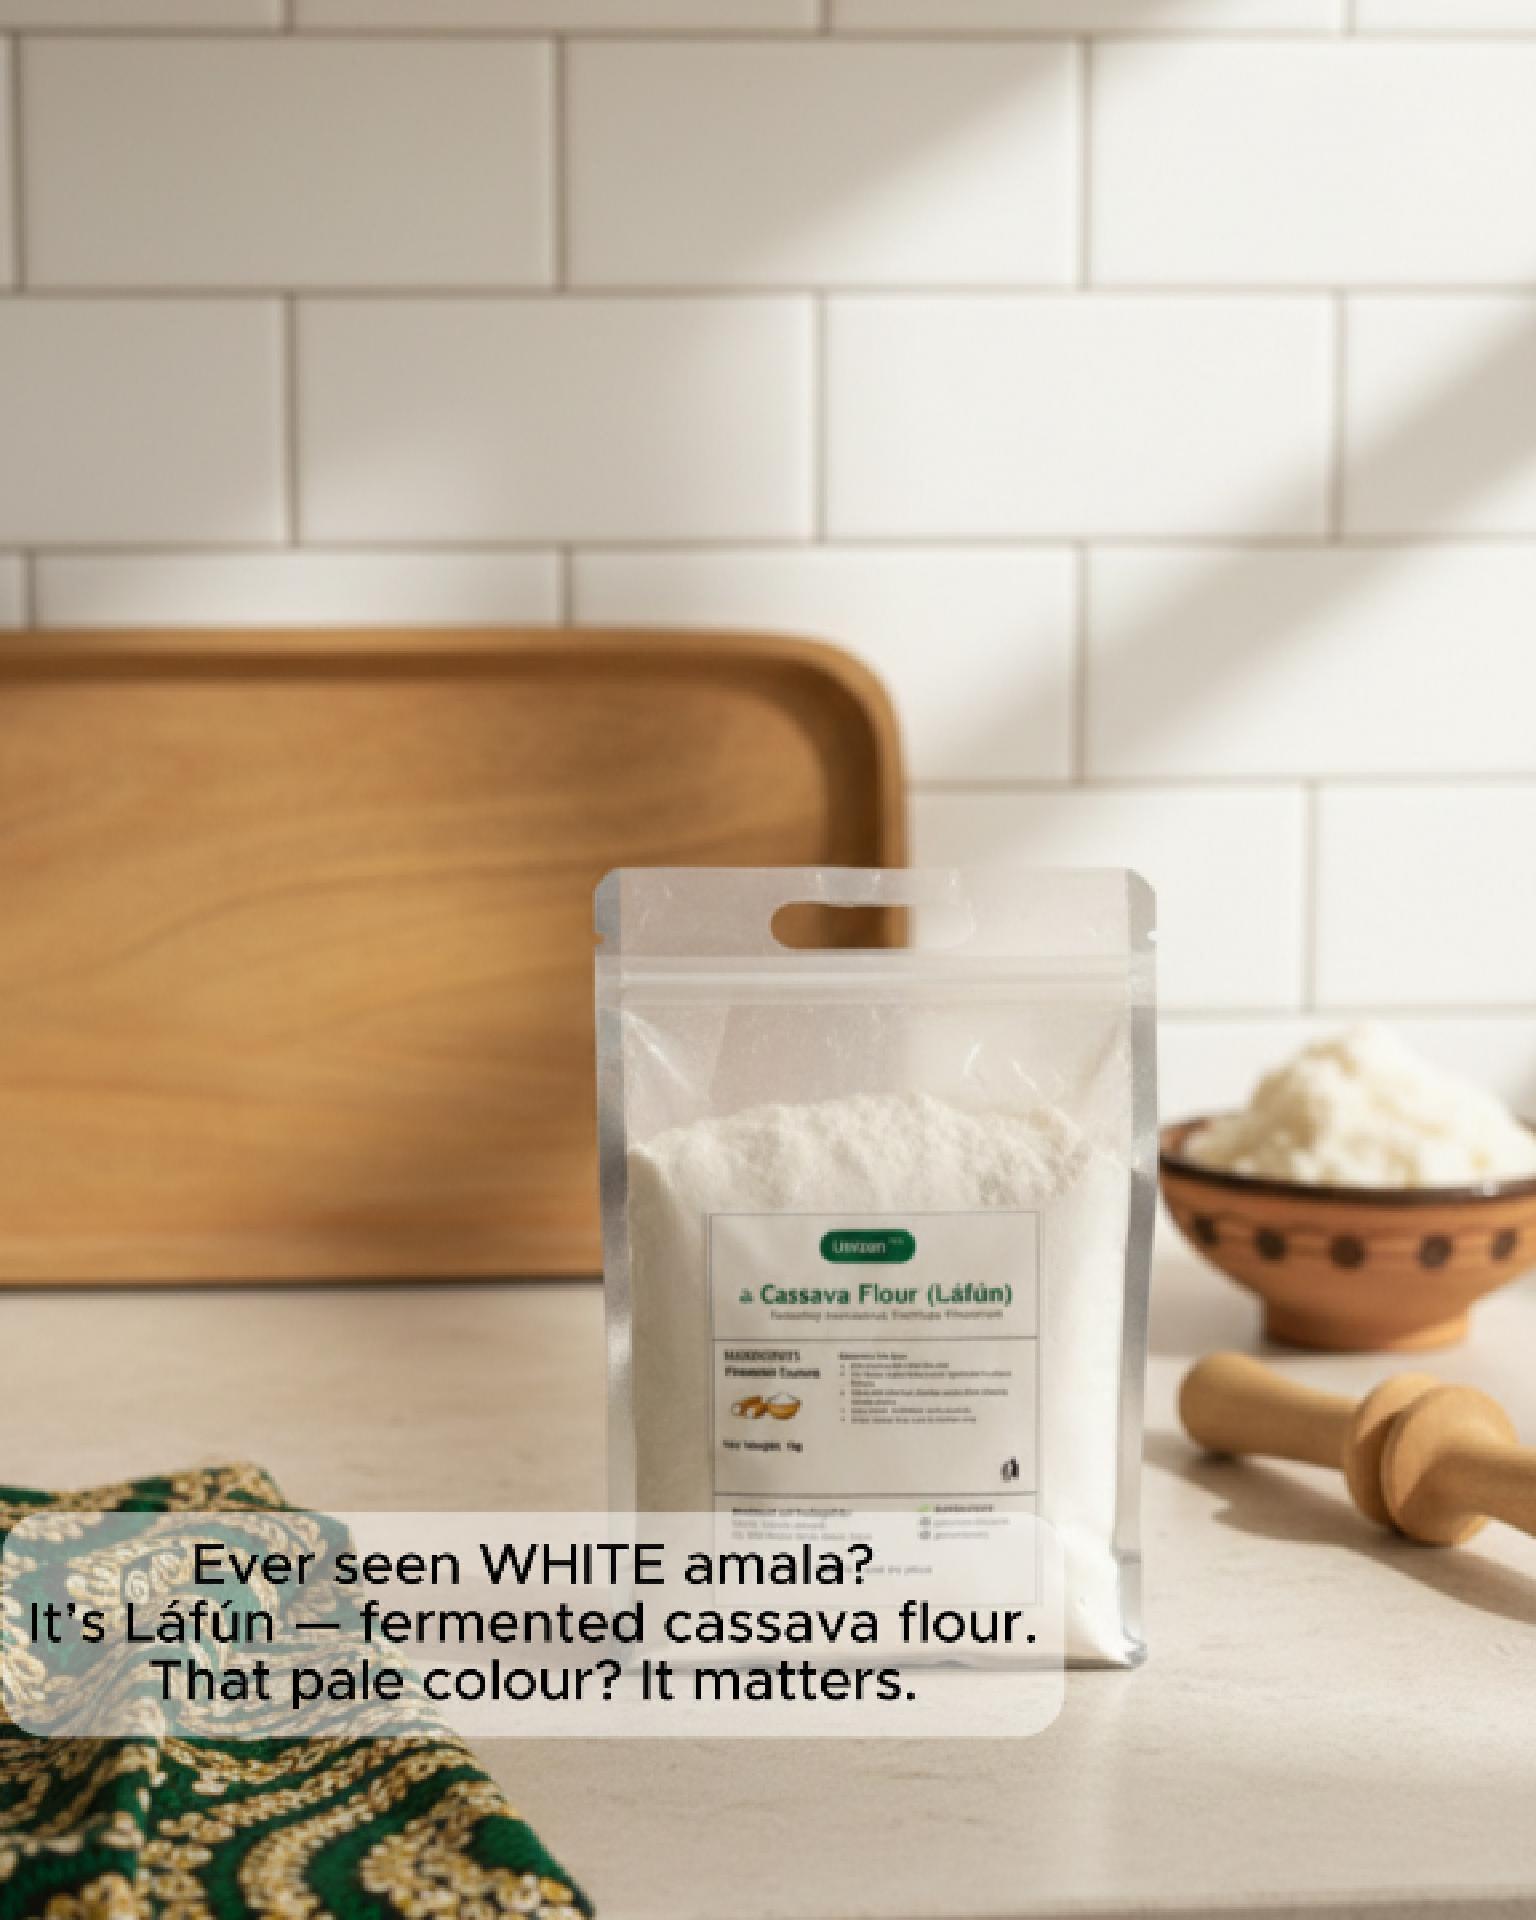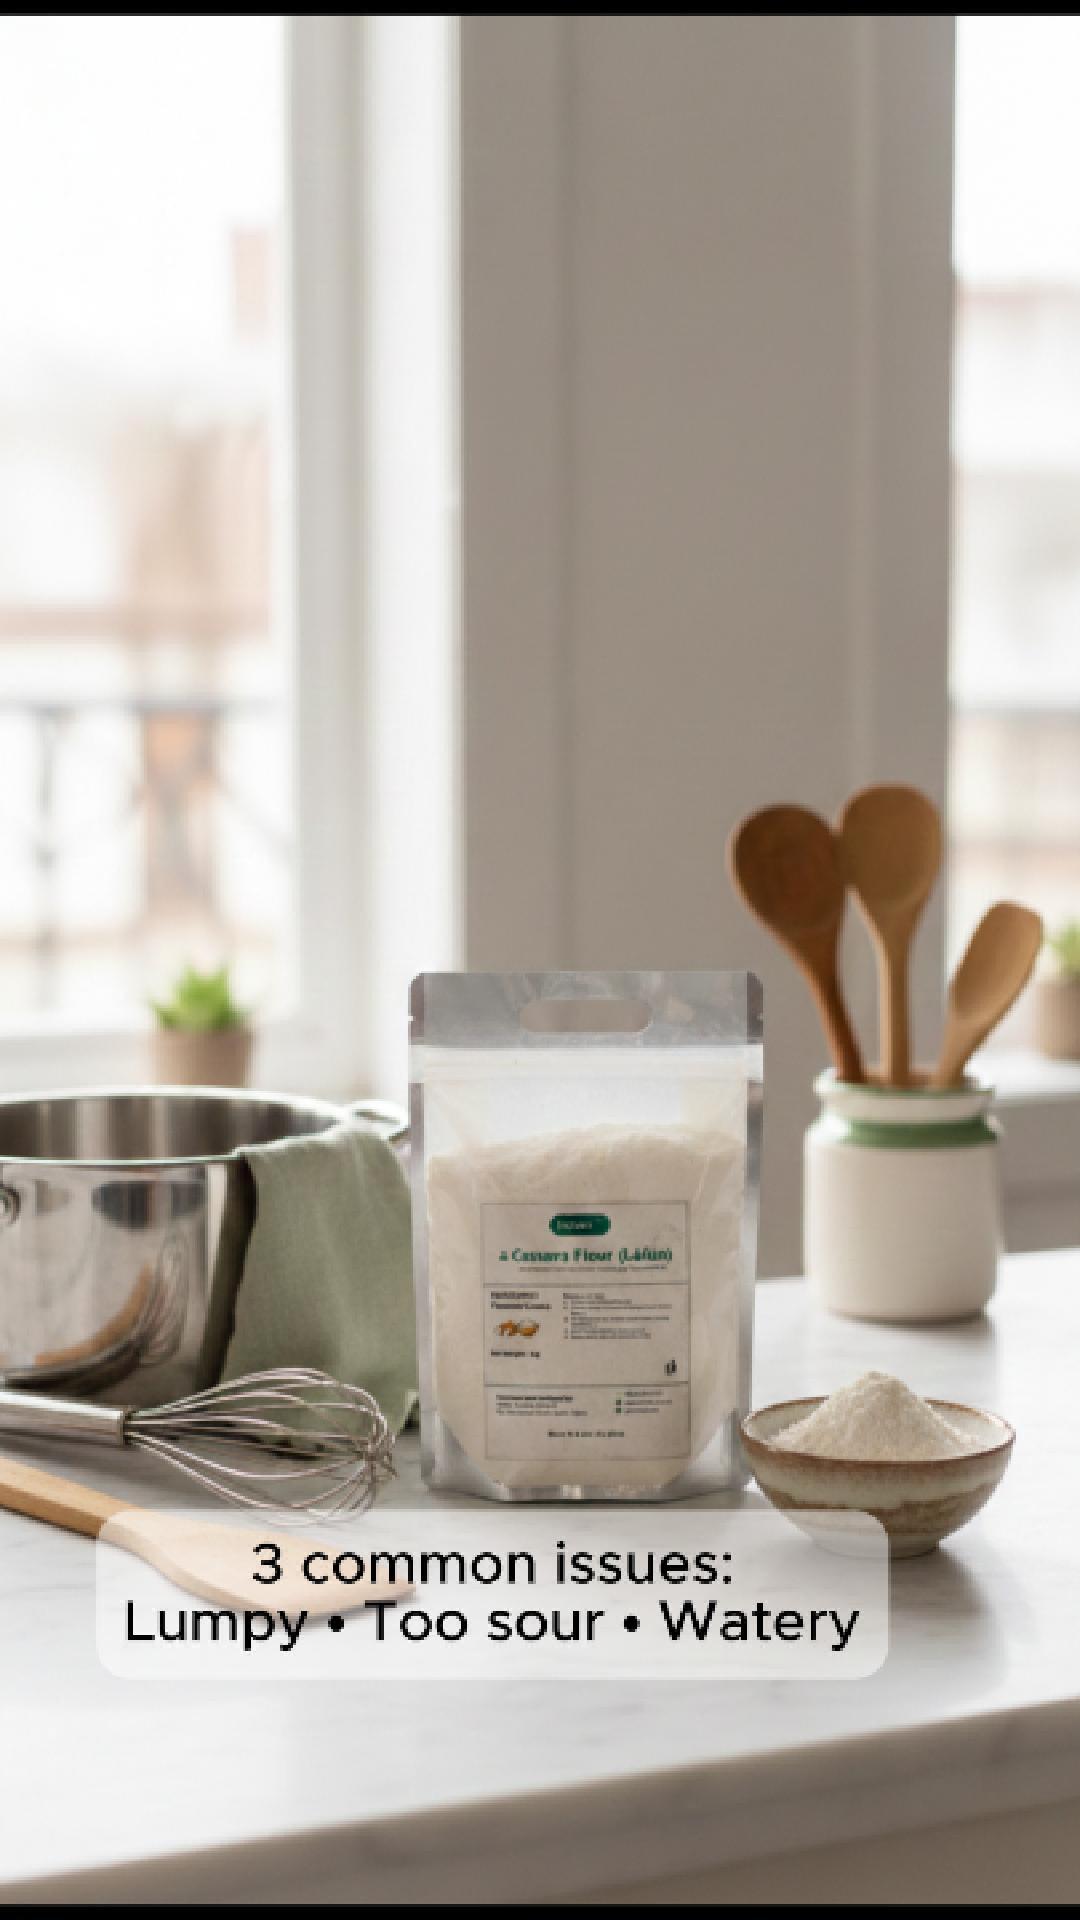
If your amala lafun has ever come out lumpy, too sour, or watery, you’re not alone. Láfún (lafun) is fermented cassava flour—so it behaves a little differently from other swallows. The good news? You don’t need magic. You need the right heat, the right “pour style”, and one or two rescue tricks.
This post is a save-and-use guide: quick fixes first, then simple prevention so your next pot is smooth from the start.
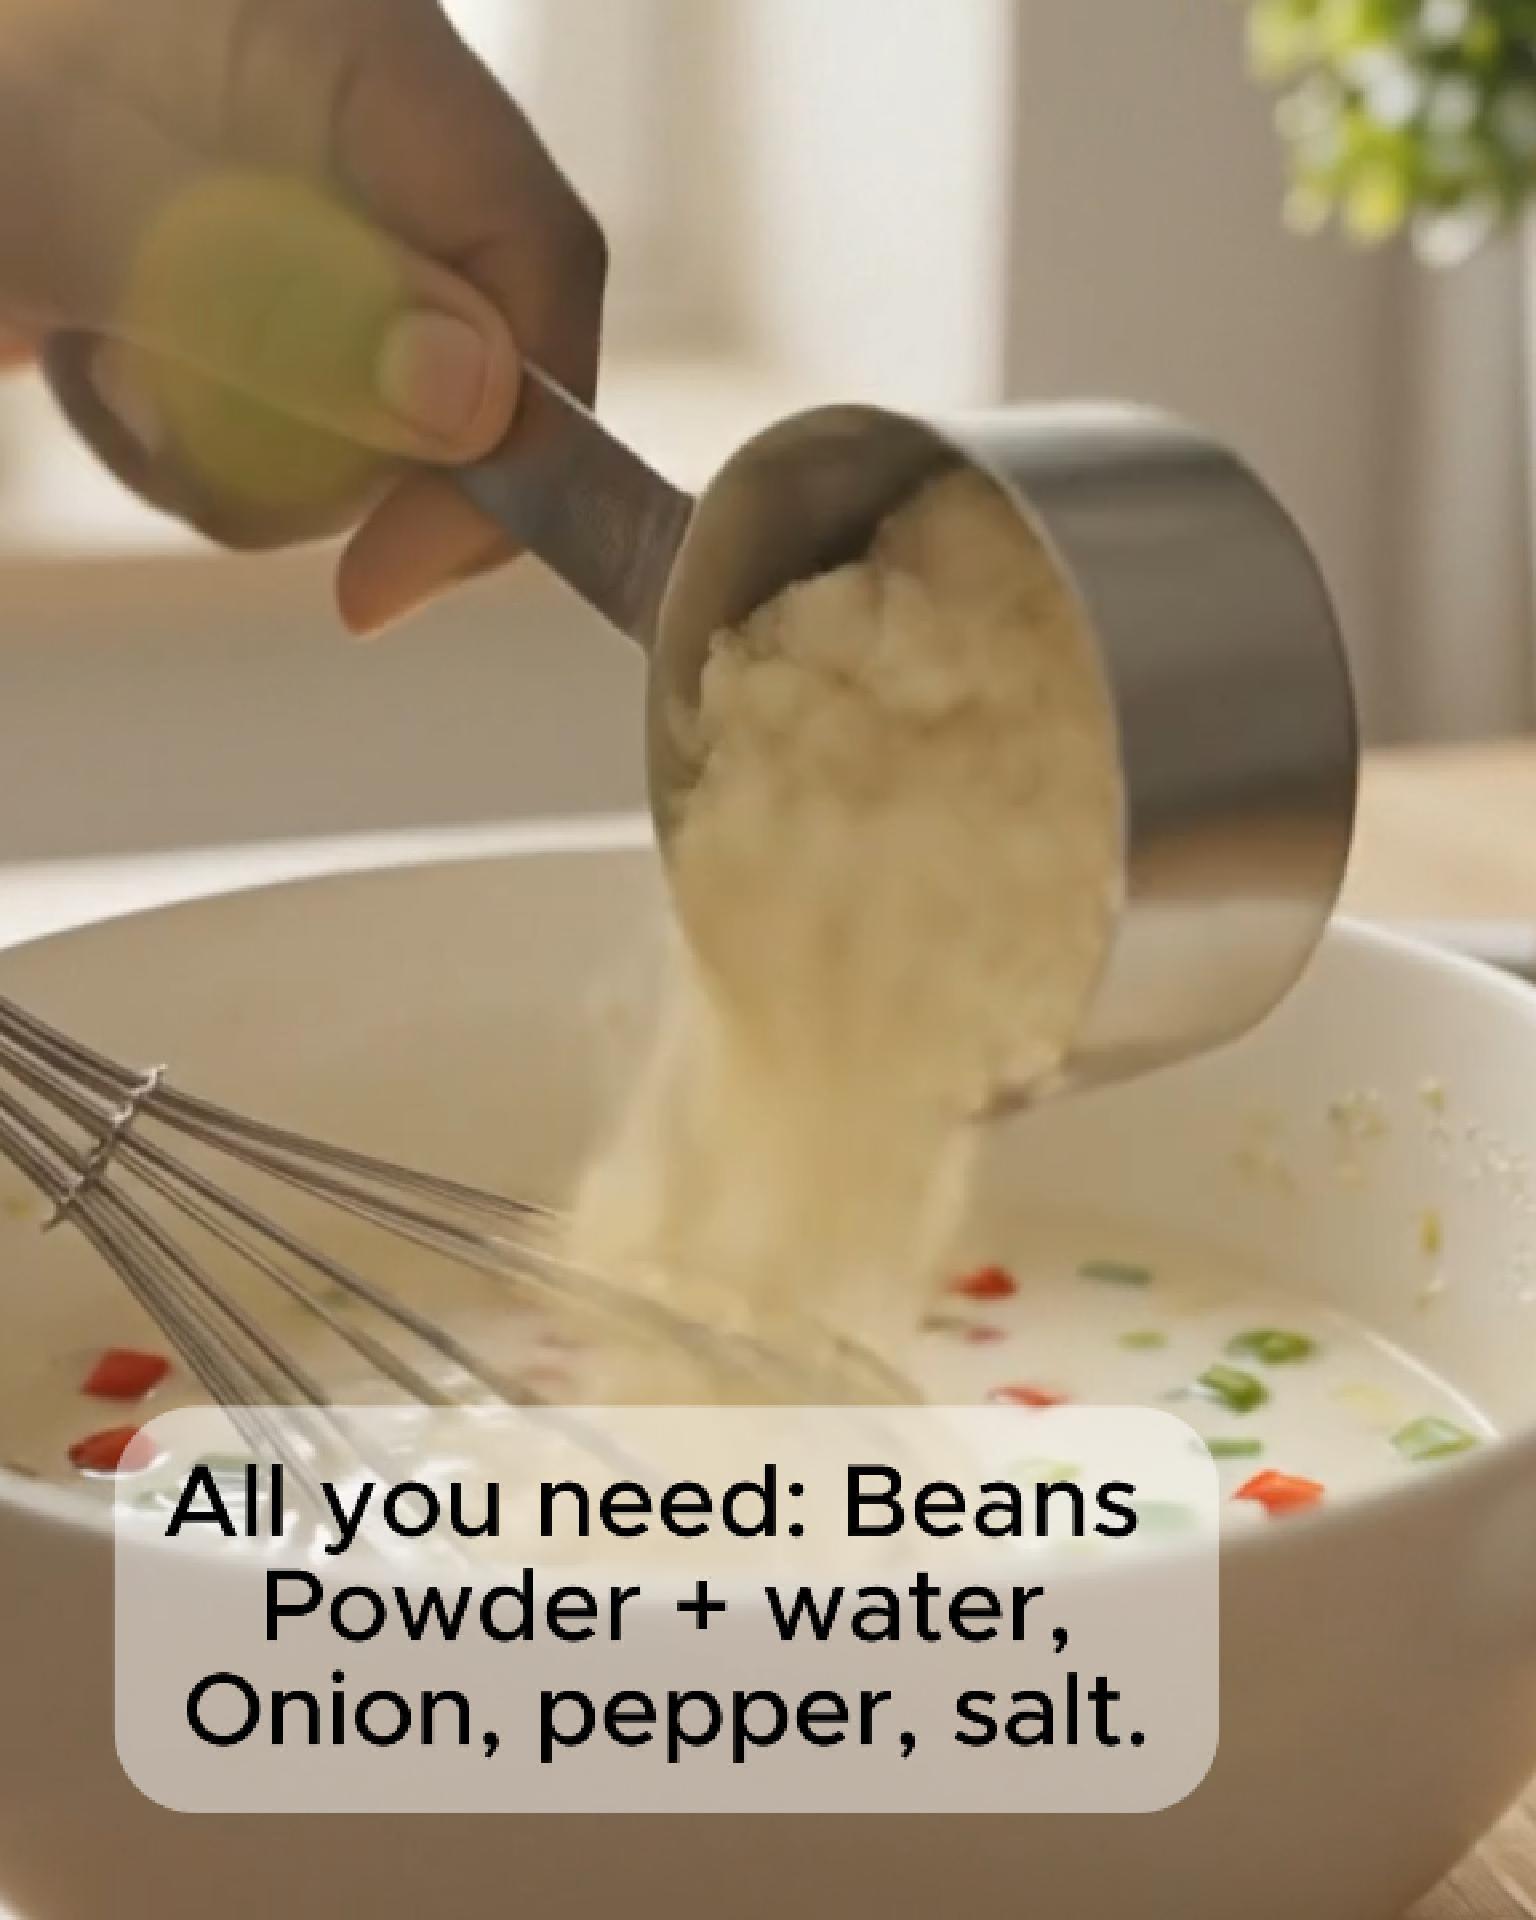
What you’ll need (simple)
- Láfún (fermented cassava flour) – finely milled works best
Buy here: https://greenunison.com/product/nature-powered-lafun/ - Water
- A balloon whisk (or sturdy fork)
- Pot + wooden spatula/turning stick
- Optional: a pinch of salt
Want to browse all flour options?
Shop flours: https://greenunison.com/shop/flours/
Full shop: https://greenunison.com/shop/
The quick method for smooth amala lafun (lump-free)
This is the fast, repeatable method when you want smooth amala without drama.
Step 1: Get the water properly hot
Bring water to a rolling boil, then reduce to medium heat (still steaming/hot, not raging).
Why it matters: lafún needs enough heat to hydrate and “set” smoothly.
Step 2: Whisk first, then sprinkle like rain
Keep your whisk moving and sprinkle the lafún gradually—don’t dump it in one go.
You’ll see it thicken quickly.
Step 3: Switch to spatula and “turn” to finish
Once it gets thick enough that whisking feels heavy:
- switch to your wooden spatula
- press + fold + turn until smooth
- cover for 30–60 seconds (optional), then give one final smooth turn
Serve immediately with your favourite soup.
Quick ratio guide (start here, then adjust)
Flour fineness and your preferred firmness can change the exact feel, so use this as a reliable starting point:
- 1 cup lafún : 2–2½ cups water → classic swallow texture
- Prefer it softer? add hot water 1–2 tablespoons at a time while turning.
- Too soft? sprinkle a little more lafún and turn until it firms up.
Tip: Always adjust with hot water, not cold—cold water shocks the texture and can bring back lumps.
Troubleshooting (save this section)
1) “My amala is lumpy” — why it happens + the fast fixes
Why it happens
- You poured flour too quickly (the outside gels before the inside hydrates)
- The water wasn’t hot enough
- Whisking stopped too early
Fix now (pick one)
Option A: Hot-water rescue (fastest)
- Take the pot off heat.
- Add 2–4 tbsp hot water.
- Whisk aggressively for 20–30 seconds.
- Return to medium heat and turn smooth.
Option B: Press & turn
Use your spatula to press lumps against the pot side while turning.
This breaks the clumps and smoothens the texture.
Option C: Beginner-safe slurry method (next time)
If lumps keep happening, do this:
- Mix a small portion of lafún with a little cool water to make a thin slurry (no lumps).
- Pour the slurry into hot water while whisking, then add remaining lafún gradually.
Prevent next time (the “3 rules”)
- Keep water hot (medium heat, steaming)
- Whisk continuously before it thickens
- Sprinkle lafún gradually—never dump
2) “It smells/tastes too sour” — what’s normal vs what’s a red flag
First: a quick reality check
Láfún is fermented, so a mild tangy aroma is normal. But sharp sour, musty, or “something is wrong” smells usually point to storage/moisture issues.
If it’s just “too tangy” (but still clean)
Try this:
- Cook for an extra 60–90 seconds while turning (it helps reduce raw/strong aroma).
- Pair with a rich soup—strong soups balance tang better.
- Next time, start with slightly more water (a too-thick base can concentrate aroma).
If it smells musty, mouldy, or “off”
Don’t try to rescue it. Discard it.
Signs to watch for:
- Damp clumps that don’t break easily
- Musty odour
- Any visible mould or unusual colour
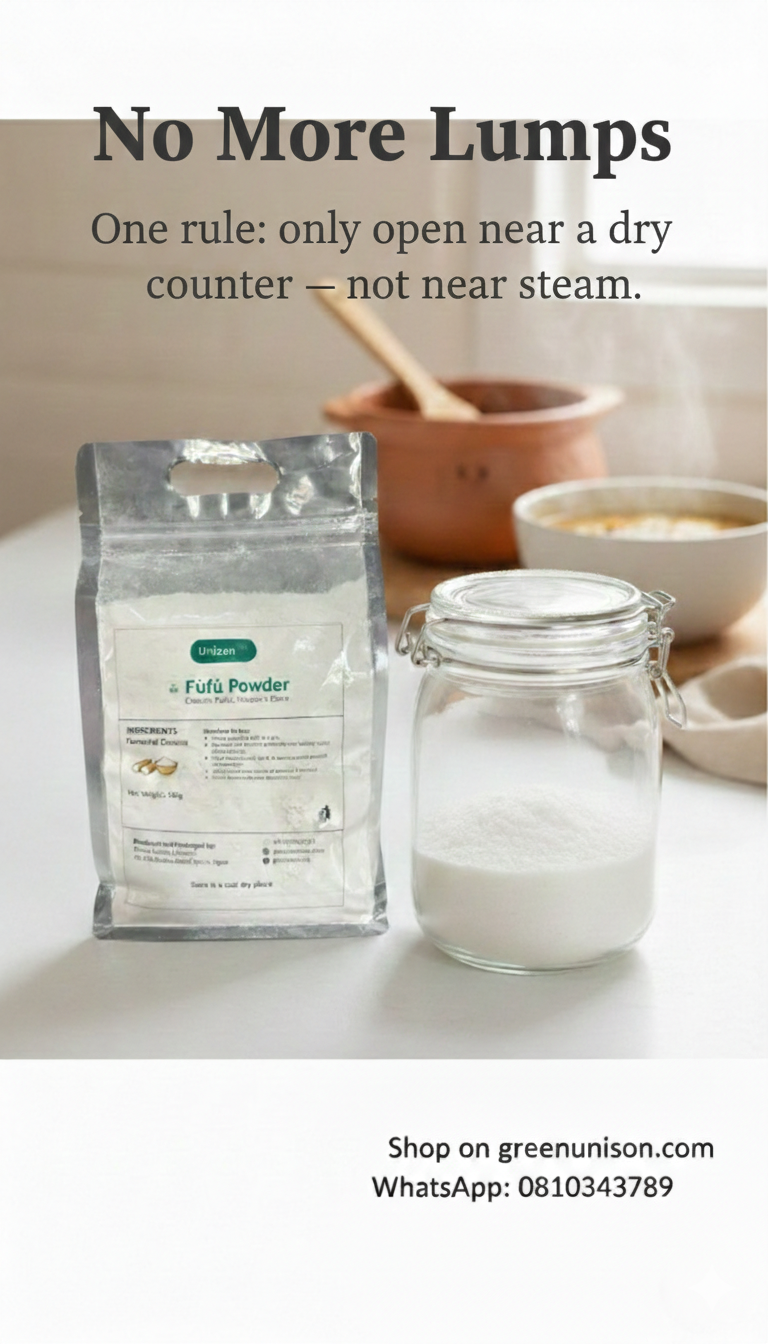
Prevent sour/off smells (simple habits that work)
- Keep lafún sealed tightly after every use
- Store in a cool, dry cupboard, away from steam (kettle/cooker area)
- Use dry spoons only (no wet cups, no damp hands)
For a detailed storage guide that covers moisture, odours and pantry pests, read:
https://blog.greenunison.com/flour-pap-storage-guide-to-beat-weevils-moisture-odours/
3) “My amala is watery / too soft” — why it happens + how to firm it up
Why it happens
- Too much water at the start
- Not enough cooking time (it hasn’t properly set)
- You added water late and didn’t turn long enough afterwards
Fix now
- Put the pot back on medium heat.
- Sprinkle lafún little by little, turning each addition in fully.
- Cover for 1 minute to steam, then give a final turn.
Don’t rush. Watery amala needs heat + turning time to become cohesive.
Prevent next time
- Start within the ratio range (1 cup : 2–2½ cups water)
- Keep heat at medium once flour goes in
- If you must add water, add hot water in small splashes and turn properly
Common mistakes (and the easy swap)
- Dumping the flour in one go → sprinkle gradually
- Stopping whisking too early → whisk until it thickens, then switch to spatula
- Heat too high → medium heat gives smoother results
- Using a light pot → a heavier pot reduces scorching and helps texture
FAQs
Can I fix amala lafun after it has cooled?
You can, but it’s never as perfect as fresh. Reheat on low heat with a small splash of hot water, cover briefly, then turn until smooth.
Is lafún the same as fufu powder?
They’re both cassava-based, but lafún is typically fermented with a more distinct aroma.
If you prefer a milder, neutral swallow, try: https://greenunison.com/product/nature-powered-fufu-powder/
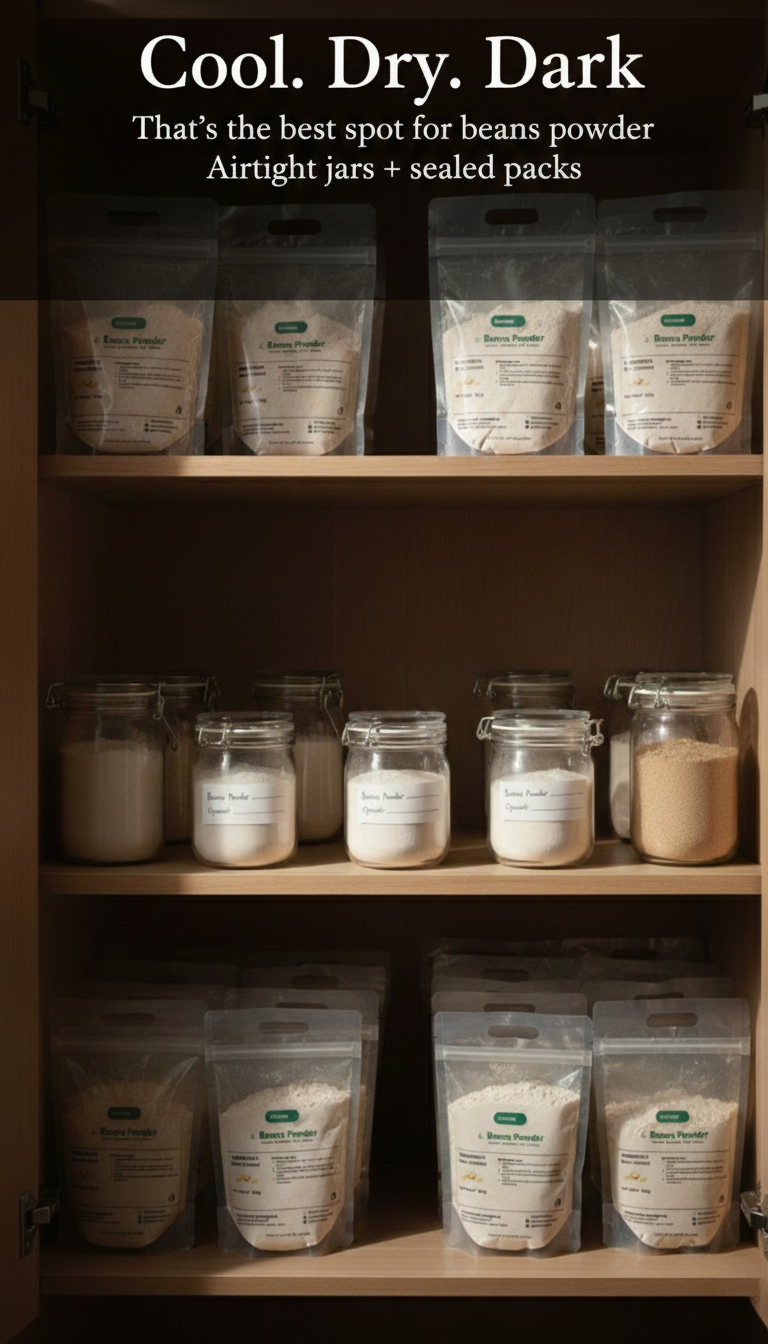
How do I store lafún so it doesn’t clump or smell off?
- Seal airtight after every use
- Keep it cool and dry (away from steam)
- Use dry utensils only
Full guide: https://blog.greenunison.com/flour-pap-storage-guide-to-beat-weevils-moisture-odours/
Related reads (if you love smooth, lump-free swallows)
- Plantain flour swallow troubleshooting: https://blog.greenunison.com/plantain-flour-amala-3-minute-whisk-method/
- Corn flour swallow (tuwo) for beginners: https://blog.greenunison.com/tuwo-masara-smooth-corn-flour-swallow/
- Corn flour baking ideas: https://blog.greenunison.com/corn-flour-bread-without-wheat/
Call to action (order in 30 seconds)
Want the easiest start (fine, smooth lafún that cooks evenly)?
- Buy Lafun on the website: https://greenunison.com/product/nature-powered-lafun/
- Browse all flours: https://greenunison.com/shop/flours/
- WhatsApp catalogue: https://wa.me/c/2348103043789
- Chat to order (prefilled):
https://wa.me/2348103043789?text=Hi%20Green%20Unison%20%F0%9F%91%8B%20I%20want%20to%20order%20Nature%20Powered%20Lafun%20for%20smooth%20amala.%20Please%20share%20your%20best%20ratio%20and%20delivery%20options.%20Thank%20you!
Save this post—next time amala misbehaves, you’ll fix it in one scroll