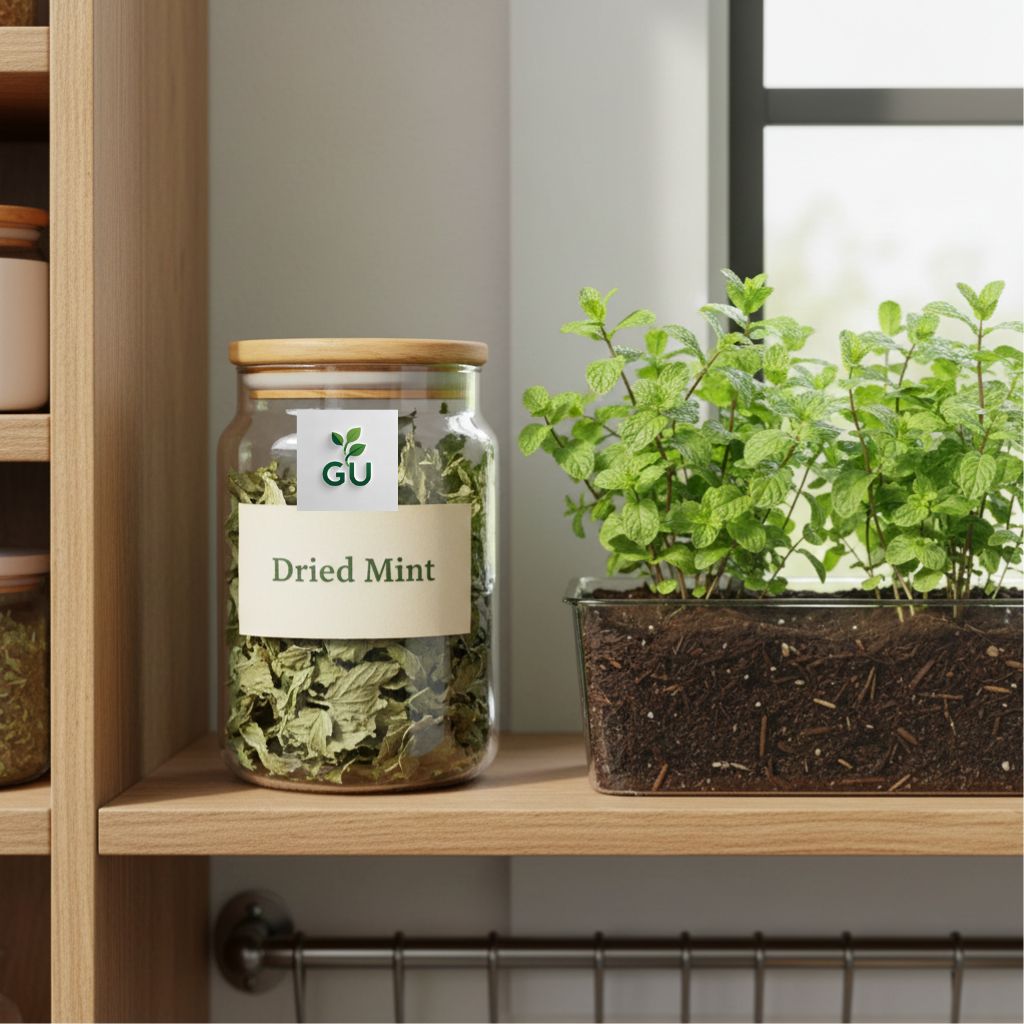
From our garden to your kitchen, experience the concentrated goodness of dried herbs and spices. We share our expertise on preserving these treasures and unlocking their flavor, aroma, and therapeutic benefits.
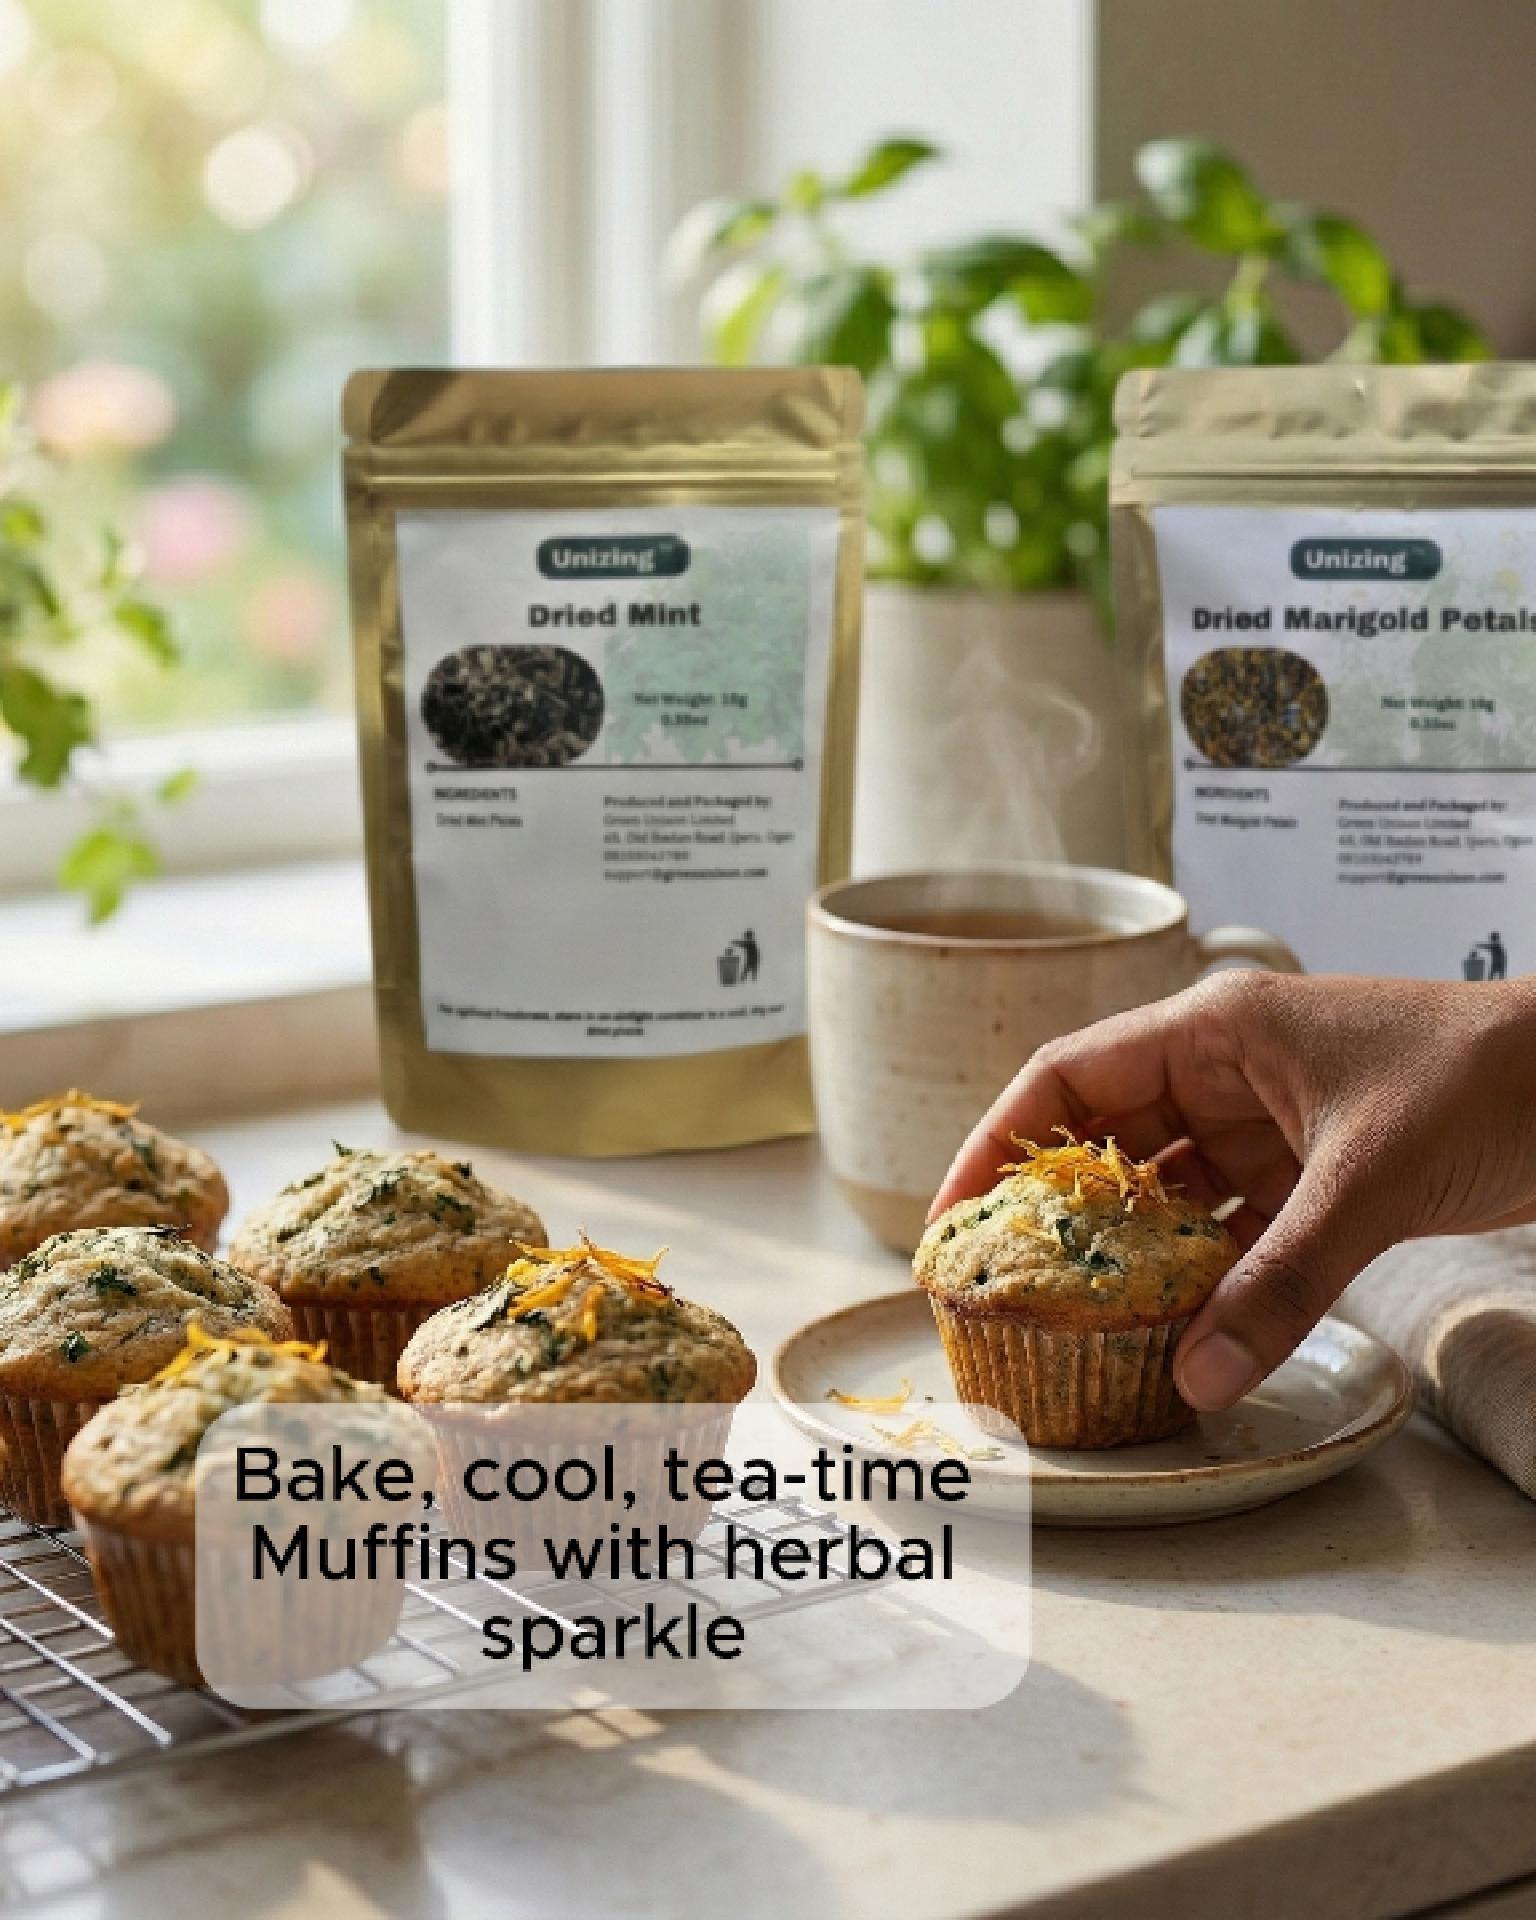
A cosy, no-fuss bake that smells like a garden: how to use dried mint and marigold petals to flavour plantain and corn flour muffins, plus smart swaps, flavour tips, and where to buy the ingredients.
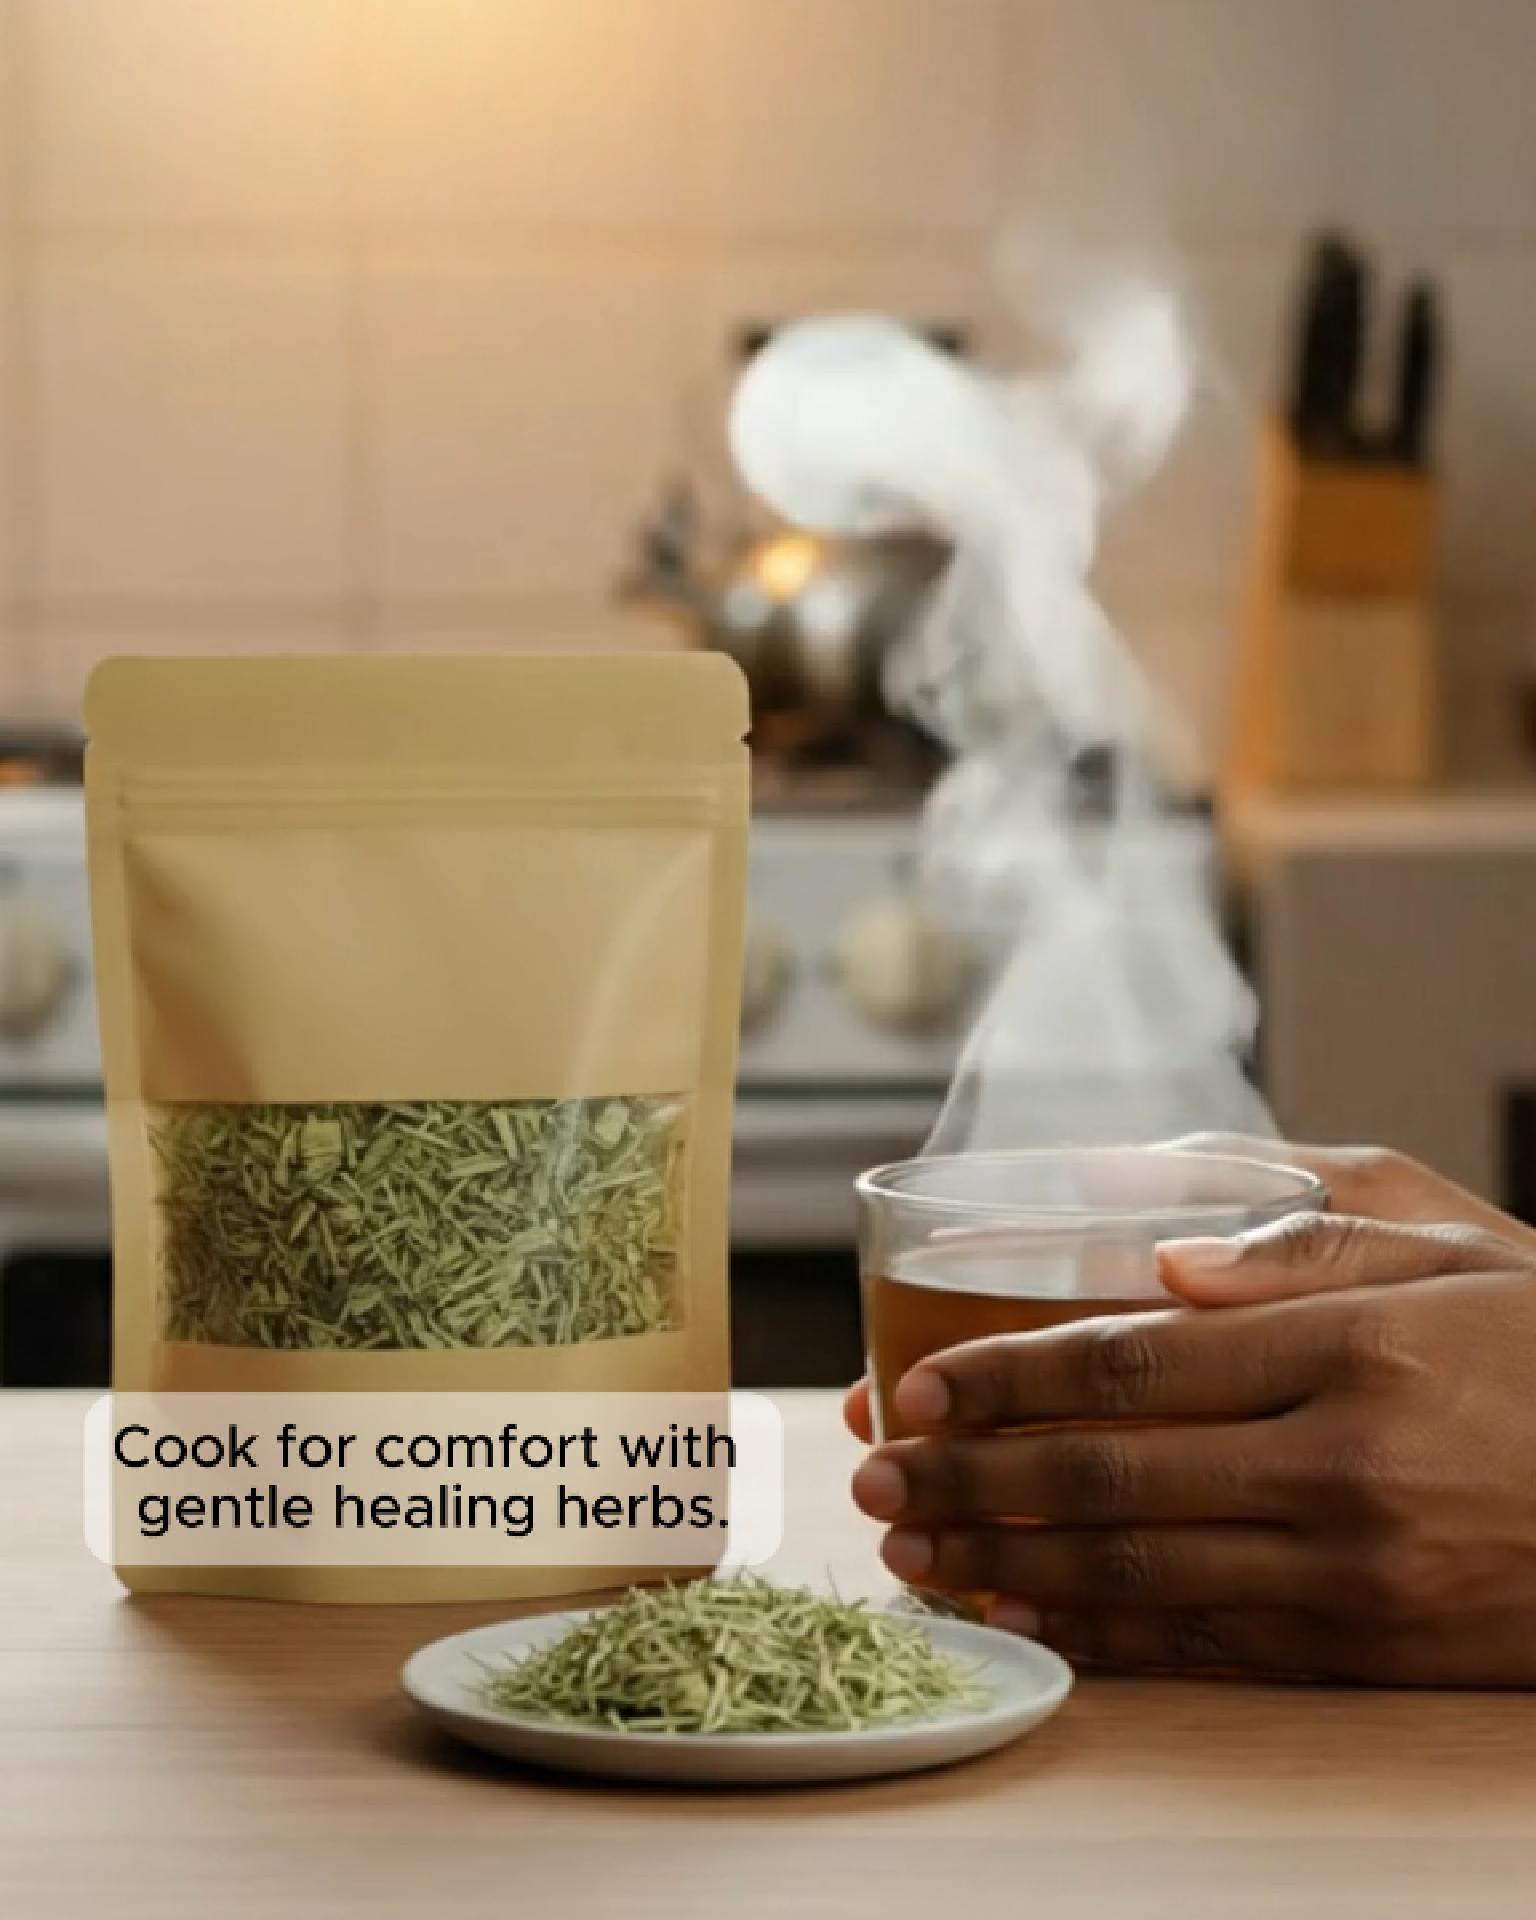
Discover five gentle, healing herbs that turn everyday comfort food into cosy, flavourful meals, plus simple tips for using peppermint, basil, lavender and more.
Unsure how to use dried herbs like Indian borage, basil and lavender in everyday dishes? This Q&A guide explains how much to use, when to add them and simple recipe ideas for flavour‑packed home cooking.
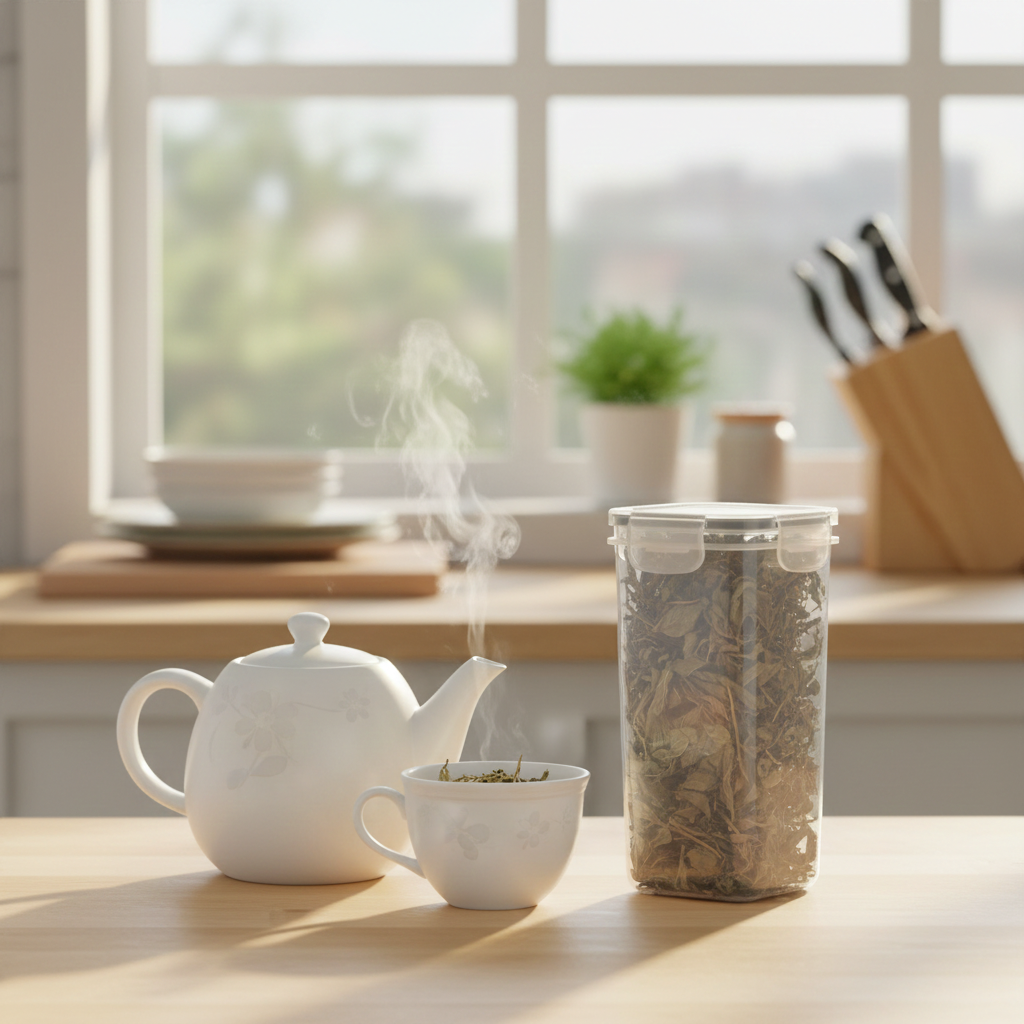
Learn how to mix Green Unison dried herbs into simple herbal tea blends for calmer evenings, harmattan comfort, hormone-friendly support and clear-headed focus—using only what’s already in your kitchen.
Discover gentle, natural ways to make calming and cooling infused oils at home using dried herb favourites — marigold, lavender, peppermint/menthol mint and lemongrass. Perfect for evening self-care, skin comfort and cooling rituals. Infused oils are currently restocking — buy herbs now and make your own.
Feeling heavy after meals? Discover 14 gentle, science-backed ways to use lemongrass tea for better digestion and everyday comfort. Learn easy brewing tips, food pairings, and simple routines for a calmer gut.
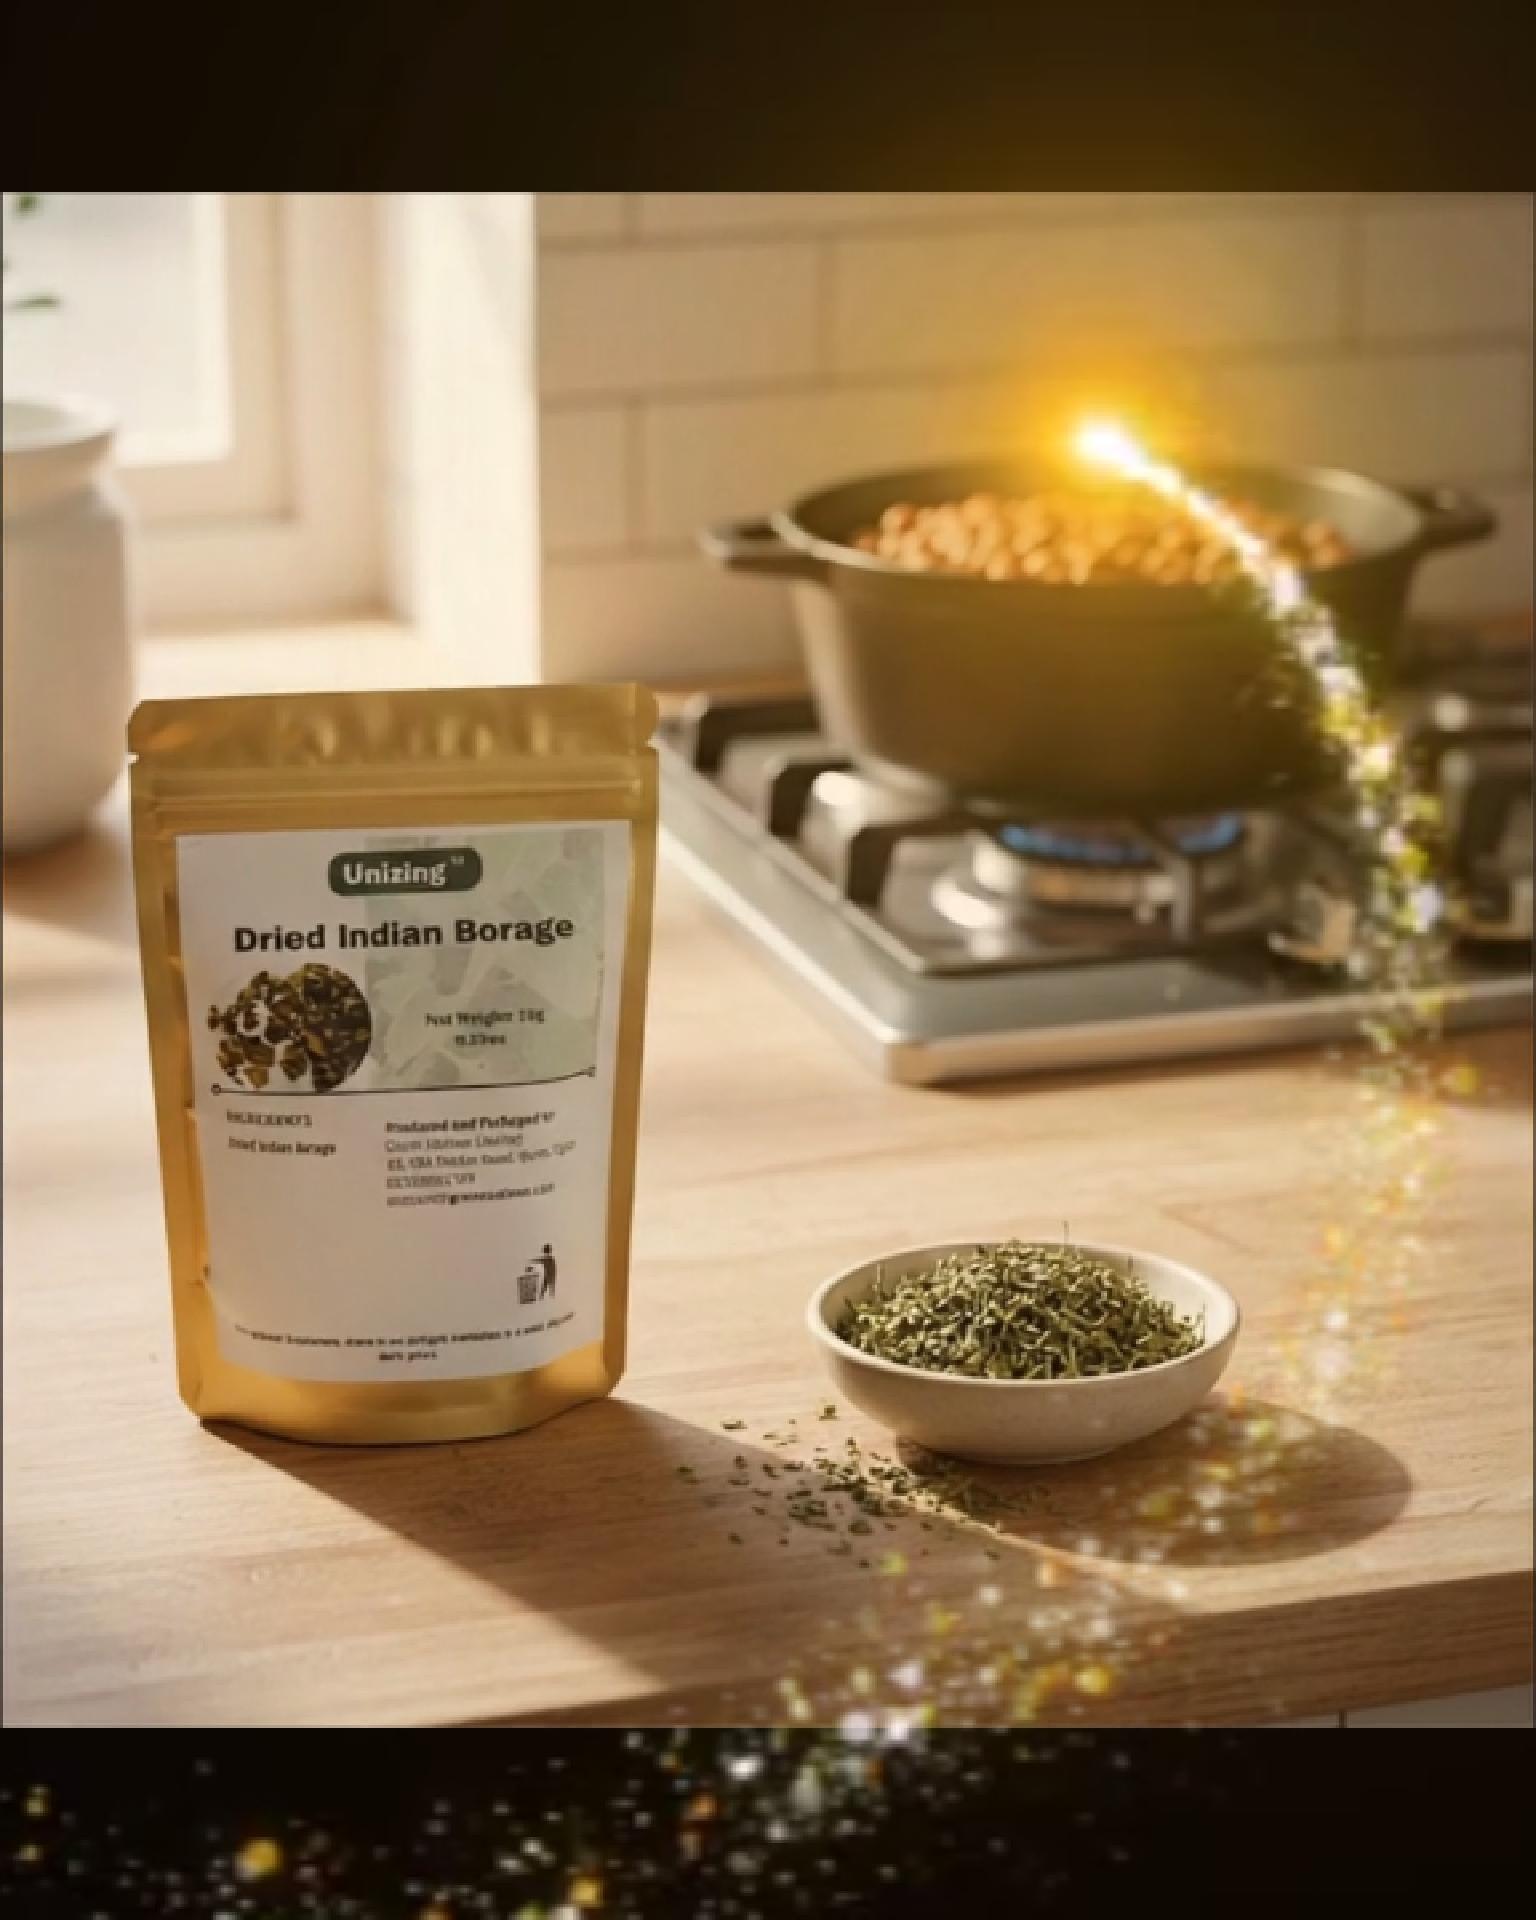
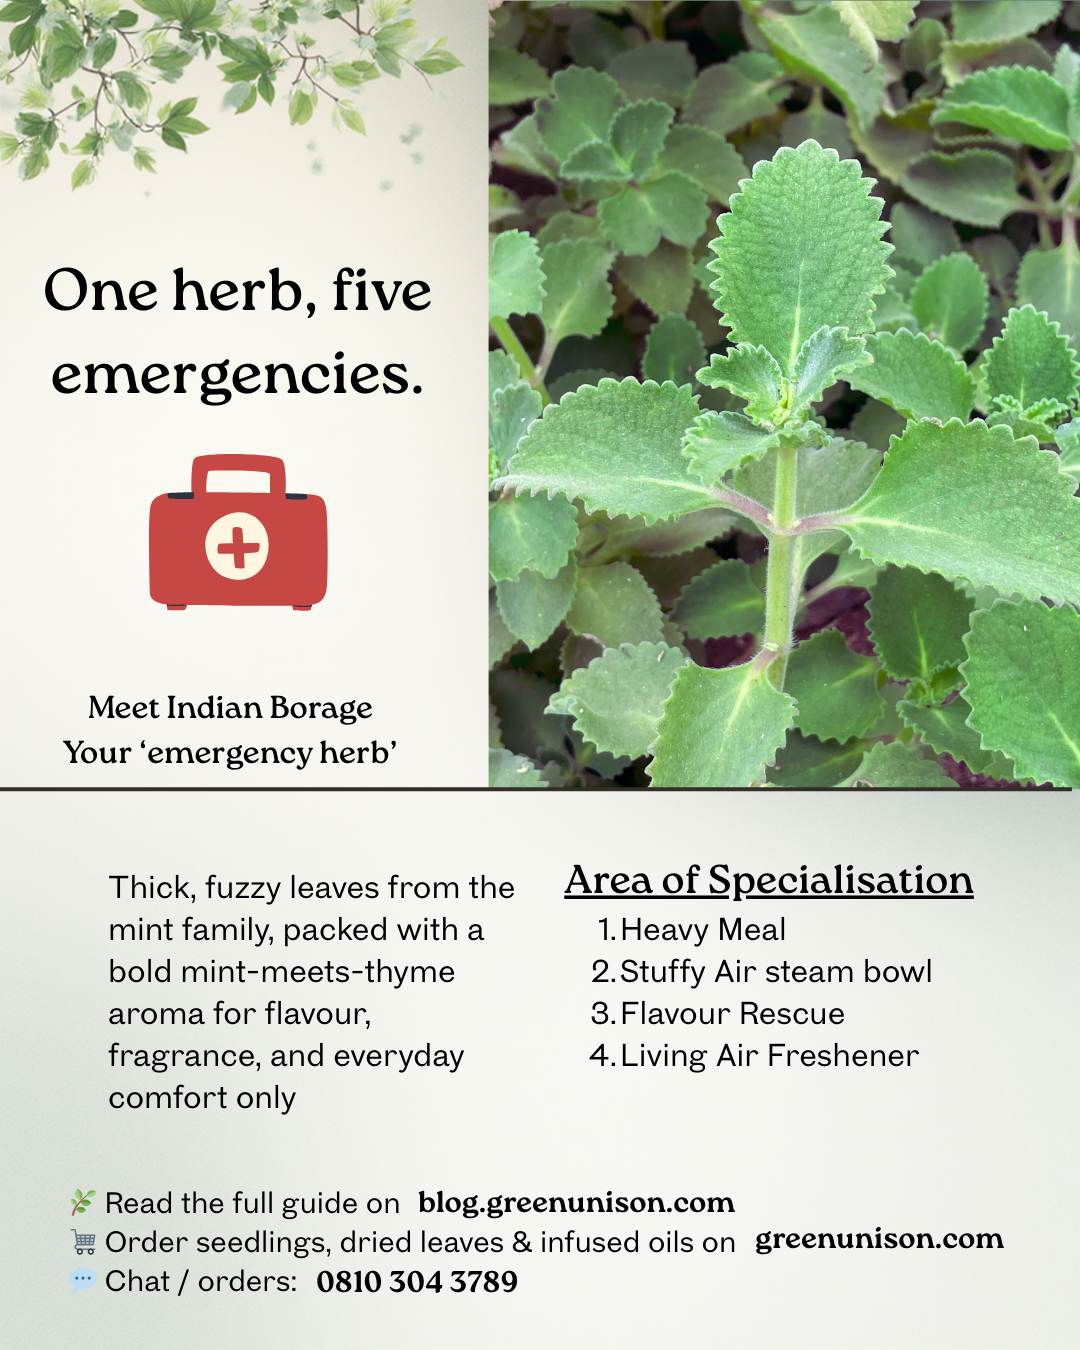
Discover 5 simple, science‑backed ways to use Indian borage at home—from quick herbal tea to flavour rescue and room freshening—plus how to grow your own.
Go behind the scenes of our dried herbs – from farm to cup. Learn how we gently dry, pack and store each batch so you get full aroma and flavour in every brew.
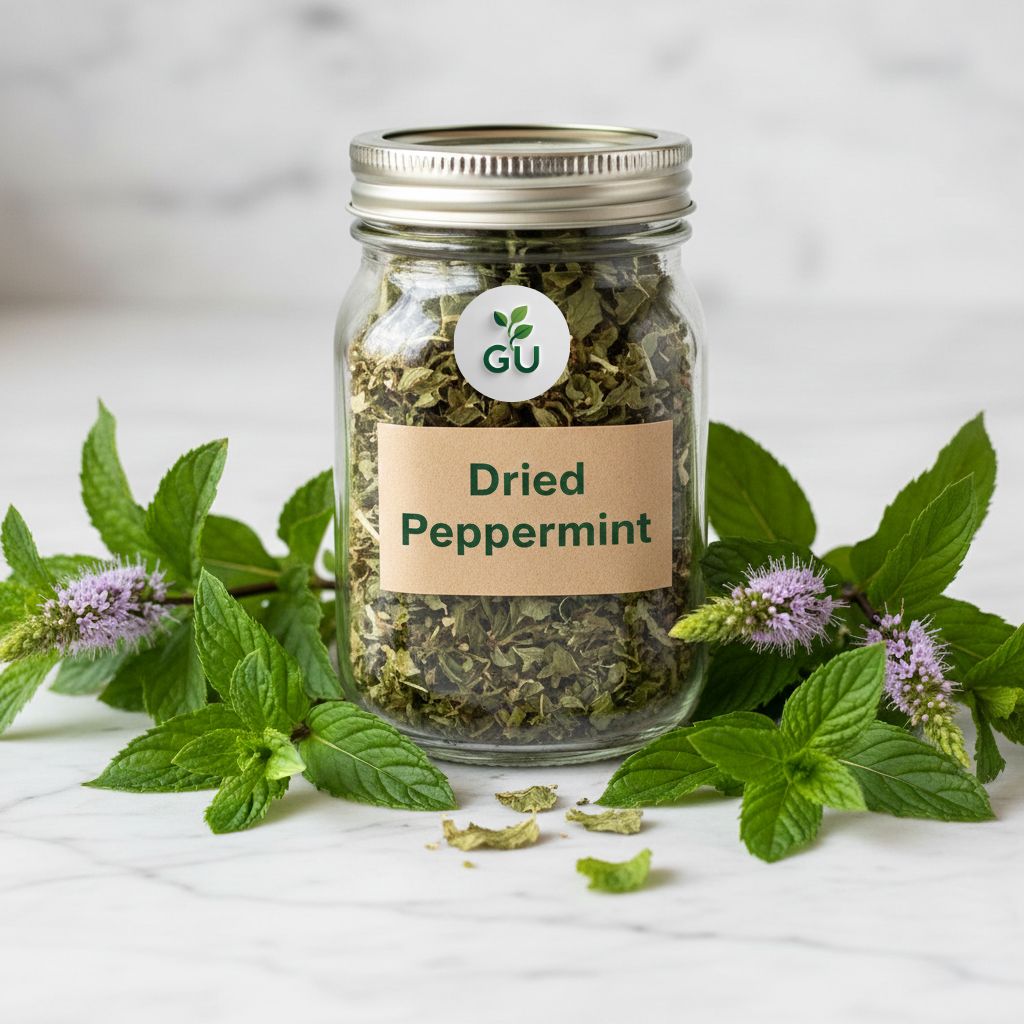
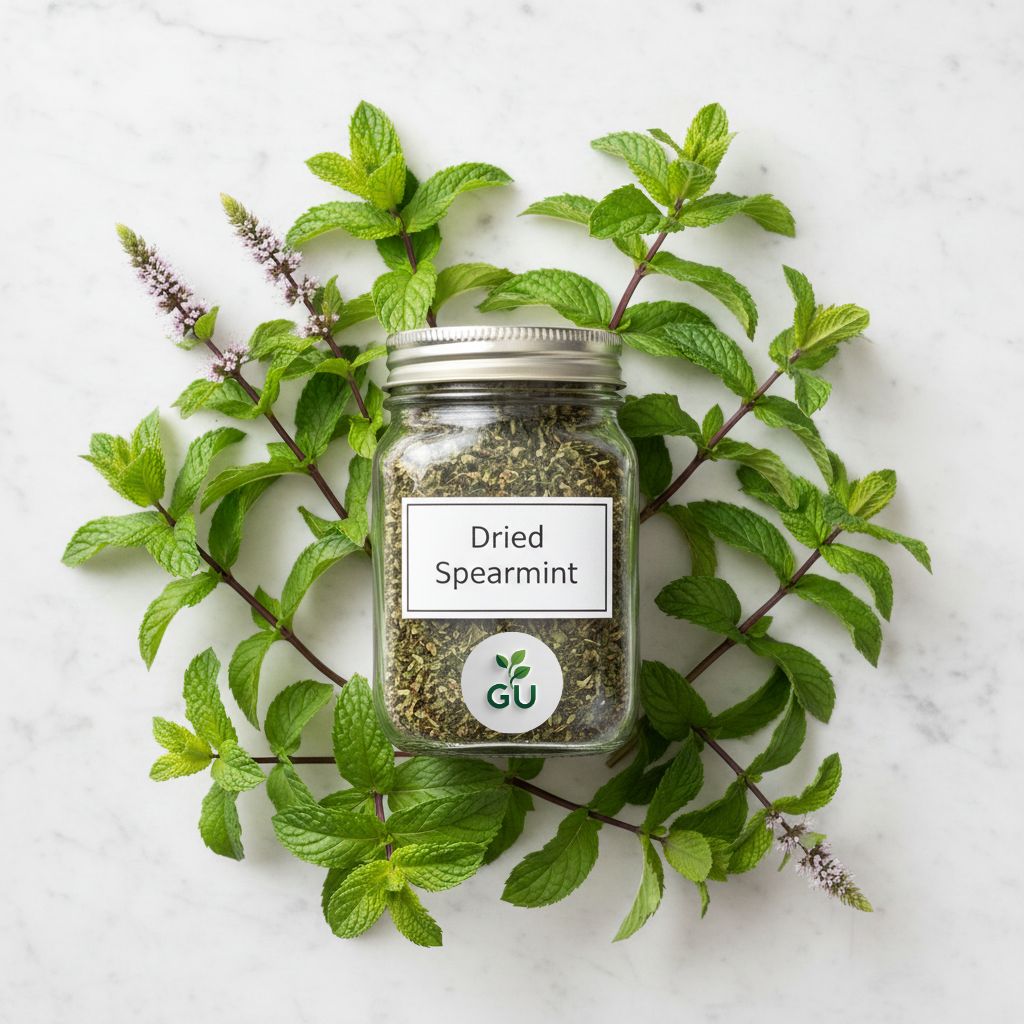
Discover how mint tea can support digestion and ease post-meal discomfort. This guide explains the difference between peppermint, spearmint and menthol mint, how to brew them properly, and when to enjoy each one.
There are some evenings that don’t need loud music or complicated routines. The fan is humming, the weather is finally cooling down, and your body is just asking for something…
Most of the time when we talk about “healthy hair”, we rush straight to products for the strands themselves leave-ins, stylers, gels, mousses. But if you’ve ever watched shed…
There is a special kind of relief that comes when you finally take your wig off, loosen a tight style or finish a long wash day. Your scalp can finally breathe, but sometimes it…
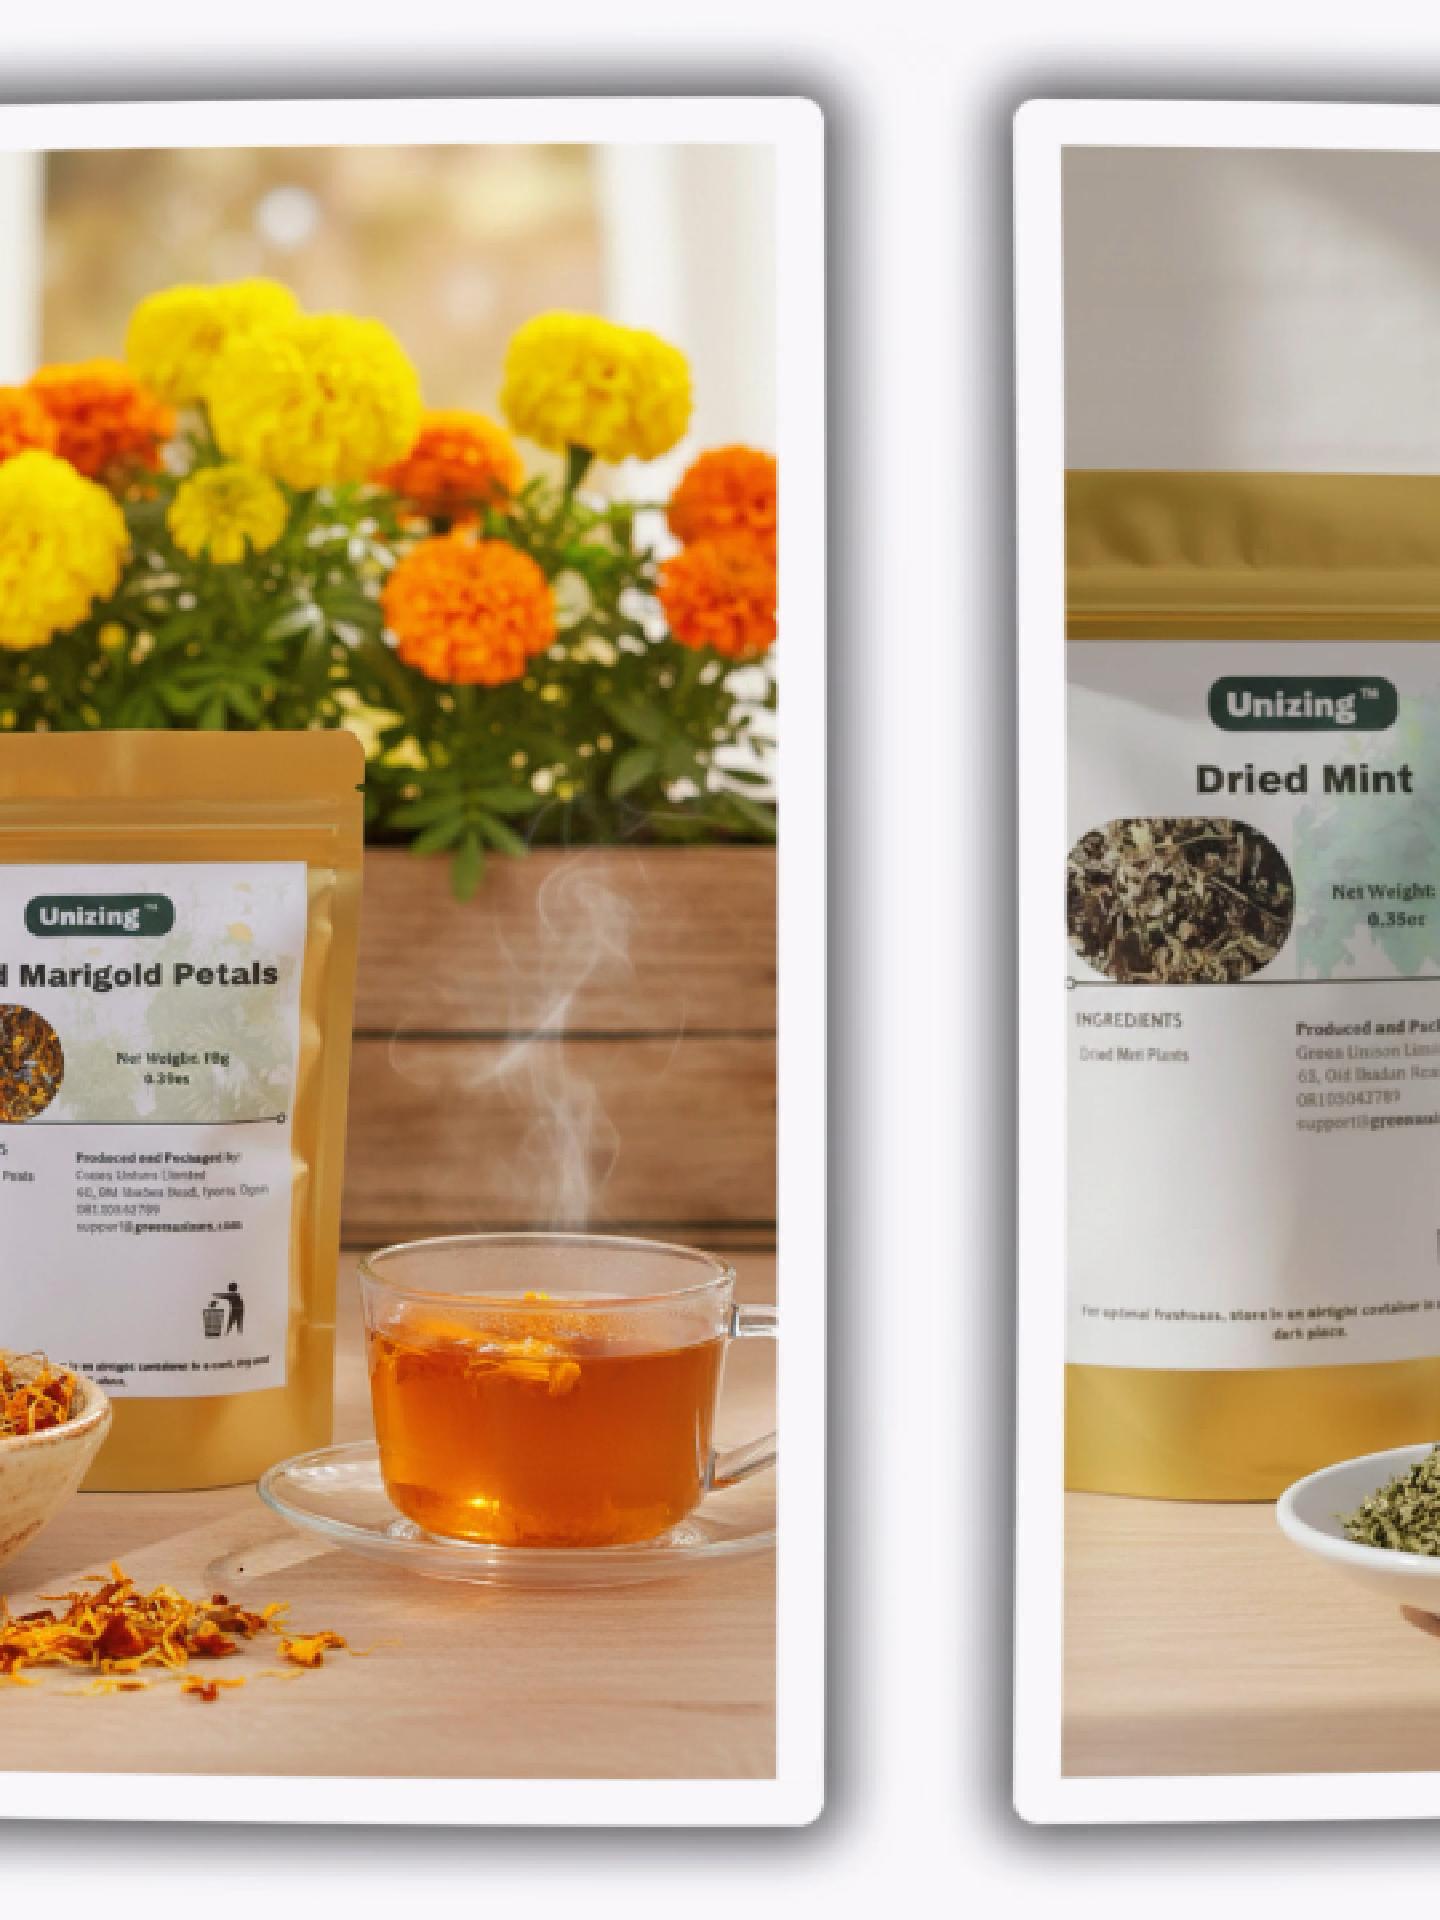
Dried marigold petals are one of those pantry jars that look too pretty to ignore but easy to underuse. At first glance they seem like “just” decoration, yet they can quietly…
In our October 29 Instagram carousel, we showed how African marigold quietly works in three areas of your life: In your cup In your routine In your soil This blog post is the…
There’s a special kind of peace that comes from opening your spice drawer and seeing small jars of dried herbs waiting for you. No pressure. No rush. Just quiet ingredients that…
Dried peppermint plants are more than just a natural remedy or tea ingredient—they can also serve as a powerful, eco-friendly way to preserve farm produce and extend its shelf…
Dried peppermint plants aren’t just for tea or skincare—they can also bring a refreshing, natural charm to your event decorations. Whether you’re hosting a wedding, party, or�…
In farming and food production, finding natural methods to extend the shelf life of produce while maintaining quality is essential. Dried spearmint plants , known for their…
Looking for a unique and eco-friendly way to elevate your event decor? Dried spearmin t offers the perfect blend of rustic charm and aromatic beauty. Its subtle fragrance and…
When it comes to event decoration, every details matters. From the color scheme to the tiniest accents, the right choices can transform an ordinary space into something…
When it comes to maintaining good oral hygiene, the ingredients in your toothpaste matter. Spearmint , a natural herb known for its refreshing aroma and health benefits, has…
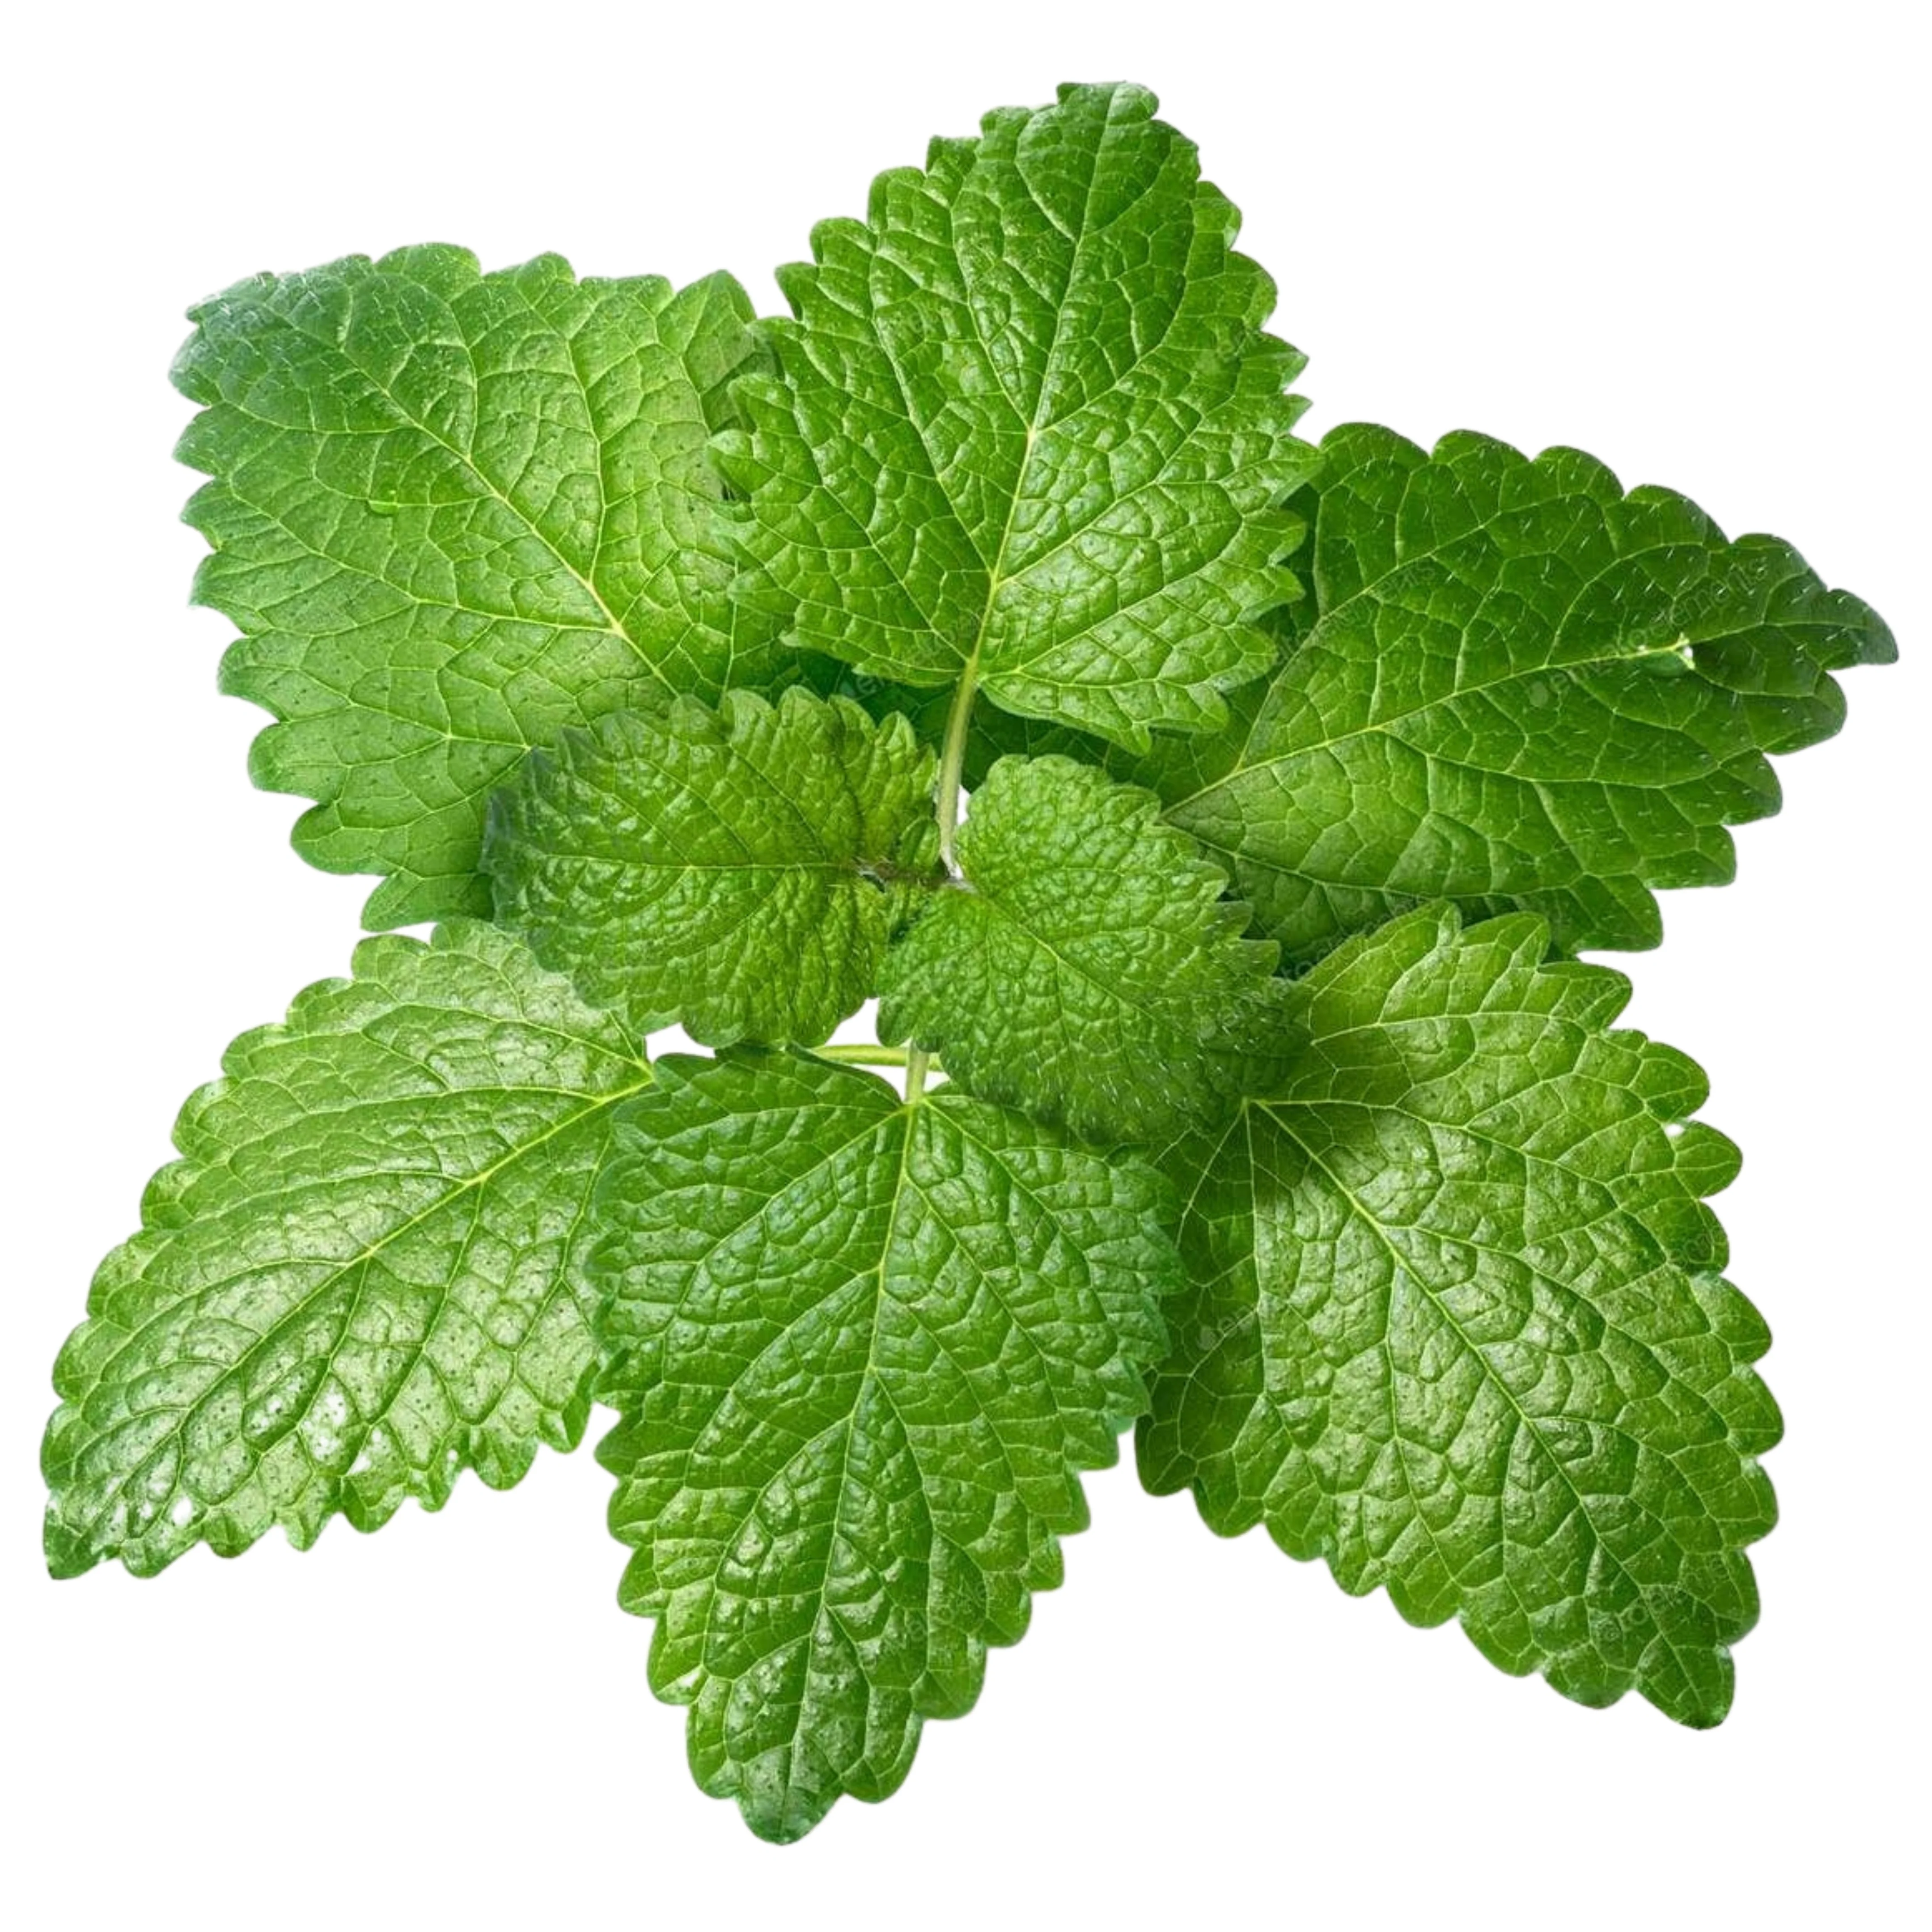
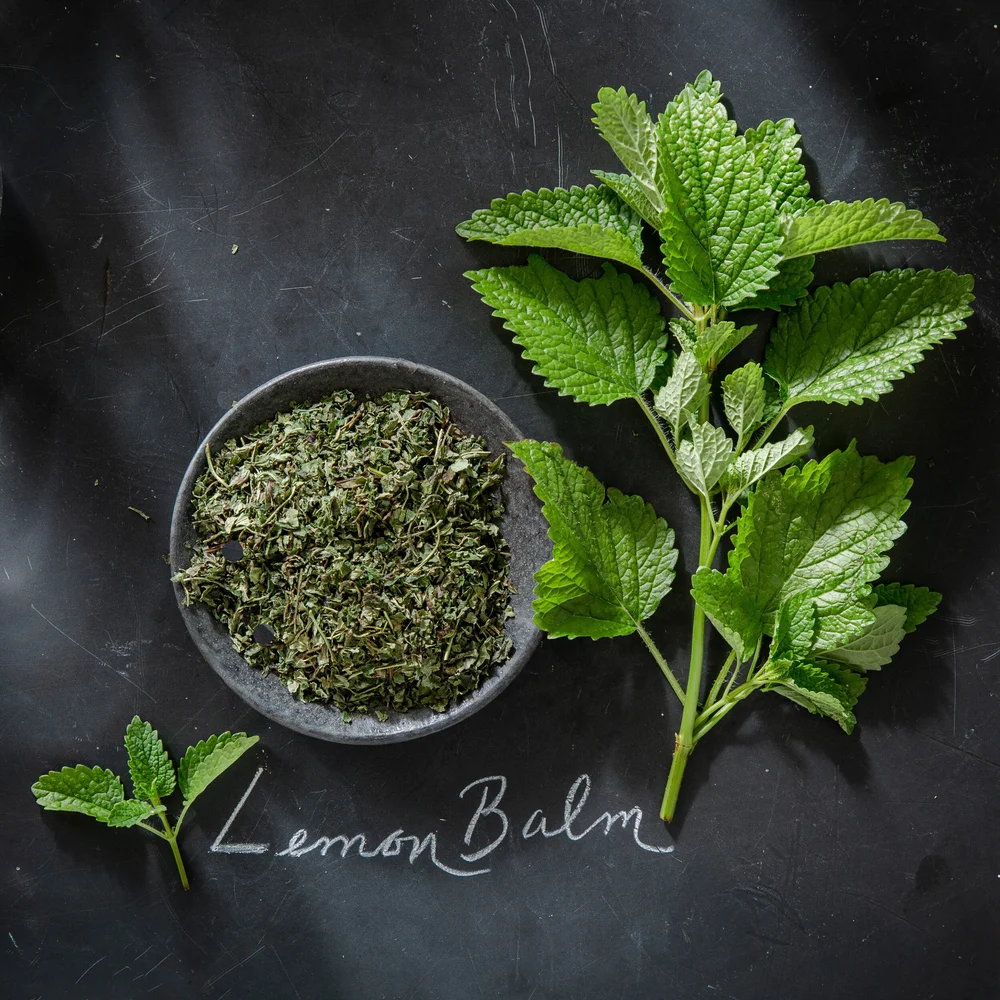
In the world of natural remedies, Lemon balm has long been celebrated for its calming and medicinal properties. While it’s been recognized for its soothing teas and skincare…
At Green Unison, we’re passionate about showing you how natural ingredients, like our organically grown dried peppermint plants , can transform your everyday routines. Peppermint…
Peppermint is more than just a refreshing herb—it’s a powerful ally for maintaining excellent oral health. Packed with antimicrobial properties, natural oils, and a cooling…
Efo Riro, a beloved Nigerian spinach stew, is known for its rich, bold flavors and versatility. But did you know that adding dried spearmint plants can take this classic dish to…
Adding Extra Flavor With Dried Lemon Balm: Efo-riro is a classic Nigerian vegetable soup, a favorite in many households known for its rich, savory taste and nutritious…
Efo Riro, a rich and flavorful Nigerian spinach stew, is already a beloved dish—but adding a touch of dried peppermint can take its taste to the next level. The refreshing, minty…
Toning Your Skin with Dried Lemon Balm Plants: In the pursuit of healthy, toning skin, nature often holds the best solution. Lemon balm (Melissa officinalis), a fragrant herb…
Toning your skin is a vital step in any skincare routine, and using natural ingredients like spearmint plants makes it even more beneficial. Packed with antimicrobial and…
Toning is an essential step in any skincare routine, helping to tighten pores, refresh your skin, and balance its pH levels. With dried peppermint plants, you can create a…
At Green Unison, we’re passionate about promoting natural, sustainable ways to improve your health. Lemon balm herbal tea, enjoyed twice daily for 30 days, offers an array of…
Ready to embark on a journey of self-discovery and wellness? This 30-day mint tea challenge invites you to explore the remarkable benefits of this natural elixir. What better way…
At Green Unison, we’re all about finding ways to bring nature into your daily life. What if we told you that something as simple as a peppermint ice cube could elevate your…
At Green Unison, we believe that small, natural changes can make a big difference in your lifestyle—and in the world. One simple yet transformative way to enjoy our Dried…
The Wonders of Spearmint Herbal Tea 🍵 In the hustle and bustle of daily life, finishing a natural, effective way to support your health can feel like a challenge. But what if one…
A Green Guide to Wellness and Sustainability Imagine a simple plant into a luxurious addition to your daily routine while contributing to a healthier planet. Your dried lemon balm…
Imagine this: a refreshing glass of iced tea infused with the invigorating essence of mint, or a soothing facial with ice cubes that revitalize your skin. With mint ice cubes, you…
At Green Unison, we believe that nature provides the best solutions for everyday challenges. Did you know that our Dried Spearmint Plants can be used as an effective, eco-friendly…
At Green Unison, we believe in the power of nature to bring out the best in you—and the planet. Our dried peppermint plants are not only a sustainable, eco-friendly choice but…
Mint – the refreshing herb that instantly brings to mind cool summer drinks and flavorful dishes. But did you know this versatile plant has a hidden arsenal in the fight against…
At Green Unison, we believe in offering natural, eco-friendly solutions that improve your quality of life while contributing to the health of our planet. One of our most versatile…
At Green Unison, we are committed to connecting you with nature’s wonders, offering organic, eco-friendly products that are as versatile as they are beneficial. Beyond its…
Are you looking for a natural way to achieve radiant, healthy face? Look no further than your kitchen cupboard! Well, almost. Green Unison's dried mint plants aren't just for…
At Green Unison, we believe in simple, natural solutions to enhance your everyday life. Here’s how you can transform our Dried Spearmint Plants into a refreshing DIY air freshener…
Making a DIY air freshener spray with dried peppermint plants is a simple and eco-friendly way to freshen up your home. Repurpose your peppermint plants to craft a refreshing and…
You don’t always have to use synthetically produced chemicals to freshen the air around you. Naturally occurring plants can be just as effective, and much more beneficial in the…
Looking for a simple, natural solution to keep your shoes and drawers smelling fresh? Dried peppermint plants are the perfect choice! Here's how you can create your own peppermint…
Looking for an all-natural way to keep your shoes, drawers, and spaces smelling fresh and minty? Green Unison’s premium Dried Spearmint plant are here to help! Perfect for…
Green Unison's dried mint leaves offer a natural and effective solution to keep your belongings smelling fresh and inviting. Say goodbye to embarrassing moments at home and in the…
Dried peppermint leaves are a versatile ingredient that can infuse your beverages with a cool, aromatic flavor. Here are some delightful ways to incorporate them into your drinks:…
Dried peppermint leaves are a versatile seasoning that can enhance both sweet and savory dishes. To preserve their freshness, aroma, and flavor, follow these steps for proper…
Aren’t you tired of Migraine and Insomnia? This is an opportunity to give Green Unison a chance to bring to you our Refreshing and Calming Lemon Balm Tea. Green Unison discovered…
Transform Your Cooking with Green Unison's Dried Peppermint Leaves Bring a burst of fresh, minty flavor to your meals with Green Unison’s Dried Peppermint Leaves. Beyond tea, our…
Hello friends! ☕ Did you recently purchase dried mints from us? Another thing you can do with our dried mint leaves is make an incredible (herbal) tea out of it. Let’s have some…
Looking for a simple, soothing way to unwind or energize your day? Green Unison's Dried Spearmint Leaves are the perfect choice for tea lovers who crave natural, refreshing…
There’s something magical about sitting down with a warm cup of tea—the soothing aroma, the comforting warmth, and the moment of peace it brings. With Green Unison’s Dried…