There’s something special about sitting down with a warm cup of herbal tea or stirring a spoonful of fragrant herbs into a simmering pot – especially when you know exactly where those leaves came from and how they were treated along the way.
In this behind-the-scenes look, we’re taking you on the journey our dried herbs make – from our fields to your cup – and how we protect flavour, aroma and quality at every step.
If you’ve ever wondered:
- How are these dried herbs actually made?
- What makes one brand more trustworthy than another?
- How do I get the best flavour in my tea or cooking?
…this guide is for you. 🌿
What “Farm to Cup” Means for Our Dried Herbs
“Farm to cup” is simple to say, but it’s a long chain of careful decisions.
For us, it means:
- We grow or work directly with growers for the herbs we dry.
- We control the key steps: harvesting, drying, storage and packing.
- We avoid shortcuts that might save time but damage flavour, colour or aroma.
So when you brew a cup of tea made with our dried herbs, you’re tasting leaves that have been gently handled from the field all the way to your kitchen shelf.
Step 1: Growing Herbs with Care
Good dried herbs always start as healthy, vibrant plants.
On our farm in Iperu Remo, Ogun State, we focus on:
- Healthy soil – building soil with compost and organic matter rather than depending on harsh chemicals.
- Thoughtful planting – giving herbs enough space, sun and airflow so they grow strong, not stressed.
- Minimal intervention – we prefer gentle, nature-friendly approaches to keep plants thriving.
This careful start is what later becomes your:
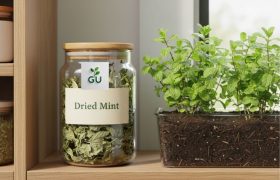
- Dried Mint Leaves – Refreshing & Aromatic
- Dried Peppermint Leaves – Strong & Cooling
- Dried Spearmint Leaves – Sweet & Mild
- Dried Lemongrass Leaves – Citrusy & Aromatic
- Dried Marigold Petals – Pure & Vibrant
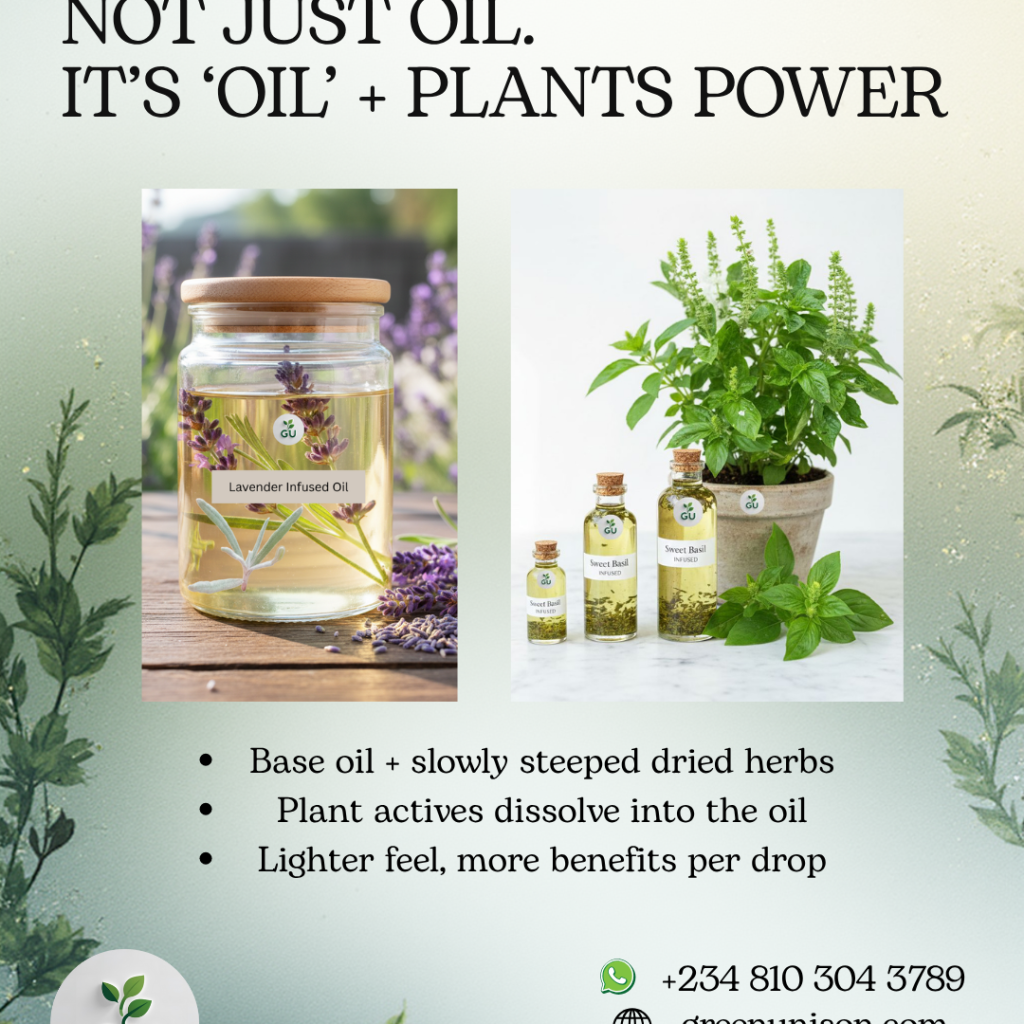
- Dried Lavender – Calming & Aromatic
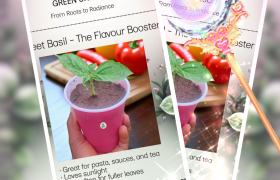
- Dried Sweet Basil – Aromatic & Versatile
- Dried Indian Borage – Bold & Minty
Each one starts life as a fresh, living plant before the drying ever begins.
Step 2: Harvesting at the Right Moment
The timing of harvest is one of the quiet secrets of quality.
We aim to:
- Harvest when leaves are full of natural oils (which carry the aroma and flavour).
- Avoid harvesting when plants are stressed or waterlogged.
- Handle leaves gently, so they don’t get bruised before drying.
You can think of it this way: the better the herb smells in the field, the better it will smell in your jar.
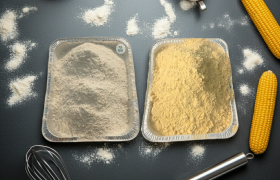
Step 3: Gentle Drying – Locking In Aroma and Flavour
Drying is where many herbs lose their magic if it’s done too fast or too hot.
We rely on carefully controlled drying rather than intense, harsh heat. That means:
- Warm, carefully controlled conditions rather than scorching temperatures.
- Leaves spread out so air can move around them.
- Patience – allowing herbs to dry fully without rushing.
This slow, even drying helps:
- Keep colours bright (like the golden glow of dried marigold petals).
- Preserve aroma (like the sweet minty scent of dried spearmint leaves).
- Maintain clean, fresh flavour in your cup.
You’ll notice the difference when you open a pouch of dried lemongrass leaves or dried lavender, and the scent greets you immediately.
Step 4: Thoughtful Storage and Food-Safe Packing
Once herbs are fully dry, the next big enemy is moisture and light.
To protect quality, we:
- Store dried herbs in airtight containers in a cool, dry place before packing.
- Pack them into resealable, stand-up pouches that keep out moisture and dust.
- Store them away from direct sunlight and heat until they’re ready to ship.
On your side at home, a few simple habits help keep them fresh for longer:
- Seal the pouch tightly after each use.
- Keep herbs in a cool, dry cupboard (not right above a steamy cooker).
- If you decant into jars, use clean, airtight glass and label the jars with the date.
A quick rule of thumb: if the herbs no longer smell fragrant when you crush a small pinch between your fingers, it’s time to refresh your stash.
Step 5: From Shelf to Cup – Brewing Dried Herbs the Right Way
How you brew your herbs also affects what ends up in your cup.
Here’s a simple starting guide you can follow for most of our dried herbs for tea:
Basic Herbal Tea Method (Per Mug)
- Herbs: 1–2 teaspoons of dried leaves or petals
- Water: 250 ml freshly boiled water
- Time: 5–10 minutes of steeping, covered
Steps:
- Add the herbs to a mug, teapot, or infuser.
- Pour in hot water and cover – this helps trap the delicate aroma.
- Steep for 5–10 minutes, depending on how strong you like it.
- Strain and sip. You can sweeten it with honey or sugar, or enjoy it plain.
You can use this method for:
- Dried Mint Leaves – bright, fresh taste.
- Dried Peppermint Leaves – bold and cooling.
- Dried Menthol Mint – strongly cooling.
- Dried Lemongrass Leaves – citrusy and uplifting.
- Dried Marigold Petals – gentle, floral tisane.
- Dried Lavender – light, aromatic infusions.
For deeper recipes and step-by-step photos, you can also read:
Not Just for Tea: Cooking and Everyday Uses
Because our herbs are food-grade, you can use them beyond tea:
- Cooking:
- Dried Sweet Basil in tomato sauces, stews, marinades and dressings.
- Dried Mint Leaves in rice dishes, sauces, dips and yoghurt.
- Dried Lemongrass Leaves in soups, broths and simple infusions.
- Natural home care and DIY projects:
- Dried Spearmint Leaves and dried peppermint leaves in simple homemade fresheners and sachets.
- Dried Marigold Petals and dried lavender in bath soaks, potpourri and decorative jars.
For more ideas, you might enjoy:
- How Dried Peppermint Can Preserve Farm Produce and Extend Shelf Life
- Freshen Your Home Naturally with Our Dried Spearmint Plants!
Note: All tips in this post are for culinary, home and general lifestyle use only and are not medical advice.
Frequently Asked Questions About Dried Herbs
1. Are dried herbs as good as fresh?
Fresh and dried herbs each have their role.
- Fresh herbs are lovely for garnish and quick, bright flavours.
- Dried herbs are concentrated, convenient and easier to store.
When herbs are dried properly at low heat and stored well, you only need a small amount to add plenty of flavour and aroma to drinks and cooking.
2. How long do dried herbs last?
Flavour and aroma naturally soften over time.
- Unopened packs are best enjoyed within about 12 months when stored correctly.
- Once opened, aim to use them within about 6 months for the best aroma and taste.
Always trust your senses:
- If the colour has faded a lot, or
- The aroma is weak when you crush the leaves between your fingers,
…it’s a sign to top up with a fresh batch.
3. Can I blend different herbs in one cup?
Yes, absolutely. Some simple ideas:
- Mint + Lemongrass – bright and refreshing.
- Peppermint + Lavender – cooling and aromatic.
- Mint + Sweet Basil + Lemongrass – layered herbal flavour for savoury broths.
Start small, take a sip, and adjust the ratio until you find your favourite mix.
4. Can I use the same herbs for tea and cooking?
Yes. Many of our herbs are versatile:
- Brew dried mint leaves as tea, and also add them to marinades and dips.
- Use dried sweet basil in sauces and sprinkle a little into warm water for a light culinary infusion.
- Add dried lemongrass leaves to soups and enjoy them in a simple drink.
Just remember that dried herbs are more concentrated than fresh, so you usually need less.
5. How are your dried herbs different from what I might find elsewhere?
A few key differences:
- We focus on low-heat drying, not harsh heat that can burn away aroma.
- Our herbs are sorted and cleaned carefully, with food-safe handling.
- We use resealable, food-grade pouches, not thin bags that let in moisture.
- You know exactly where they come from – straight from our farm and trusted partners.
Ready to Taste the Difference? 🌿
If you’ve been curious about trying dried herbs for tea, cooking or home projects, this is a great time to start.
Explore our full range of dried herbs here:
You can order directly on the website or use WhatsApp if that’s easier for you:
- 📲 View our full herb and product catalogue on WhatsApp
- 💬 Chat with us on WhatsApp – tell us what you like, and we’ll help you choose.
Whether you’re brewing a quiet evening cup, stocking your pantry, or exploring gentle, nature-based projects at home, we’re here to make sure every dried leaf from our farm to your cup is worth savouring. 💚